14 KiB
Non-graphical installer
Requirements
- Server running Ubuntu 24.04
- Internet connection
- SSH terminal access
- Root access
Installation process
Log in to the machine where you want to install as root.
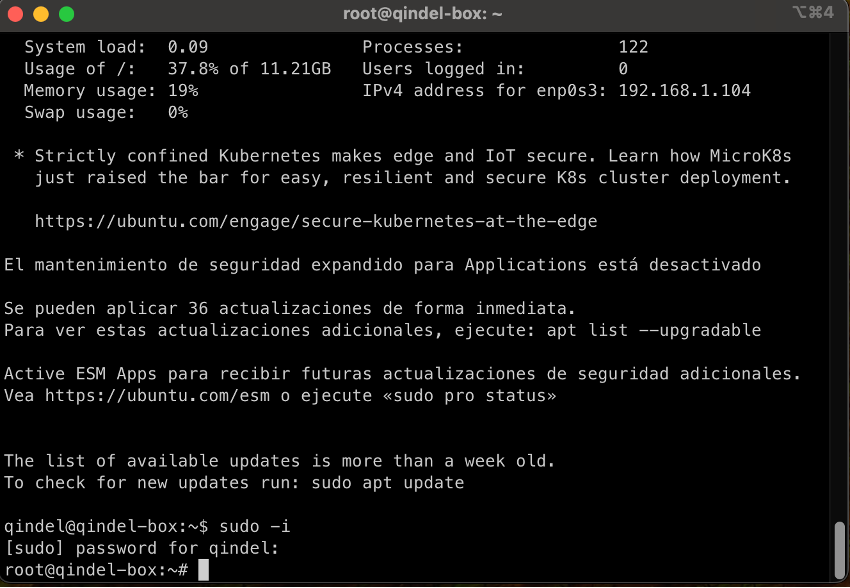
Run the following commands:
 curl -q -k https://ognproject.evlt.uma.es/gitea/api/v1/repos/opengnsys/oginstaller/raw/non_graf_installer/python-installer/opengnsys_installer-v2.sh?ref=main -o opengnsys_installer.sh

chmod 755 opengnsys_installer.sh

./opengnsys_installer.sh
If you want to install the latest packages built from each repository’s main branch, run:
 curl -q -k https://ognproject.evlt.uma.es/gitea/api/v1/repos/opengnsys/oginstaller/raw/non_graf_installer/python-installer/opengnsys_installer-v2.sh?ref=main -o opengnsys_installer.sh

chmod 755 opengnsys_installer.sh

./opengnsys_installer.sh nightly

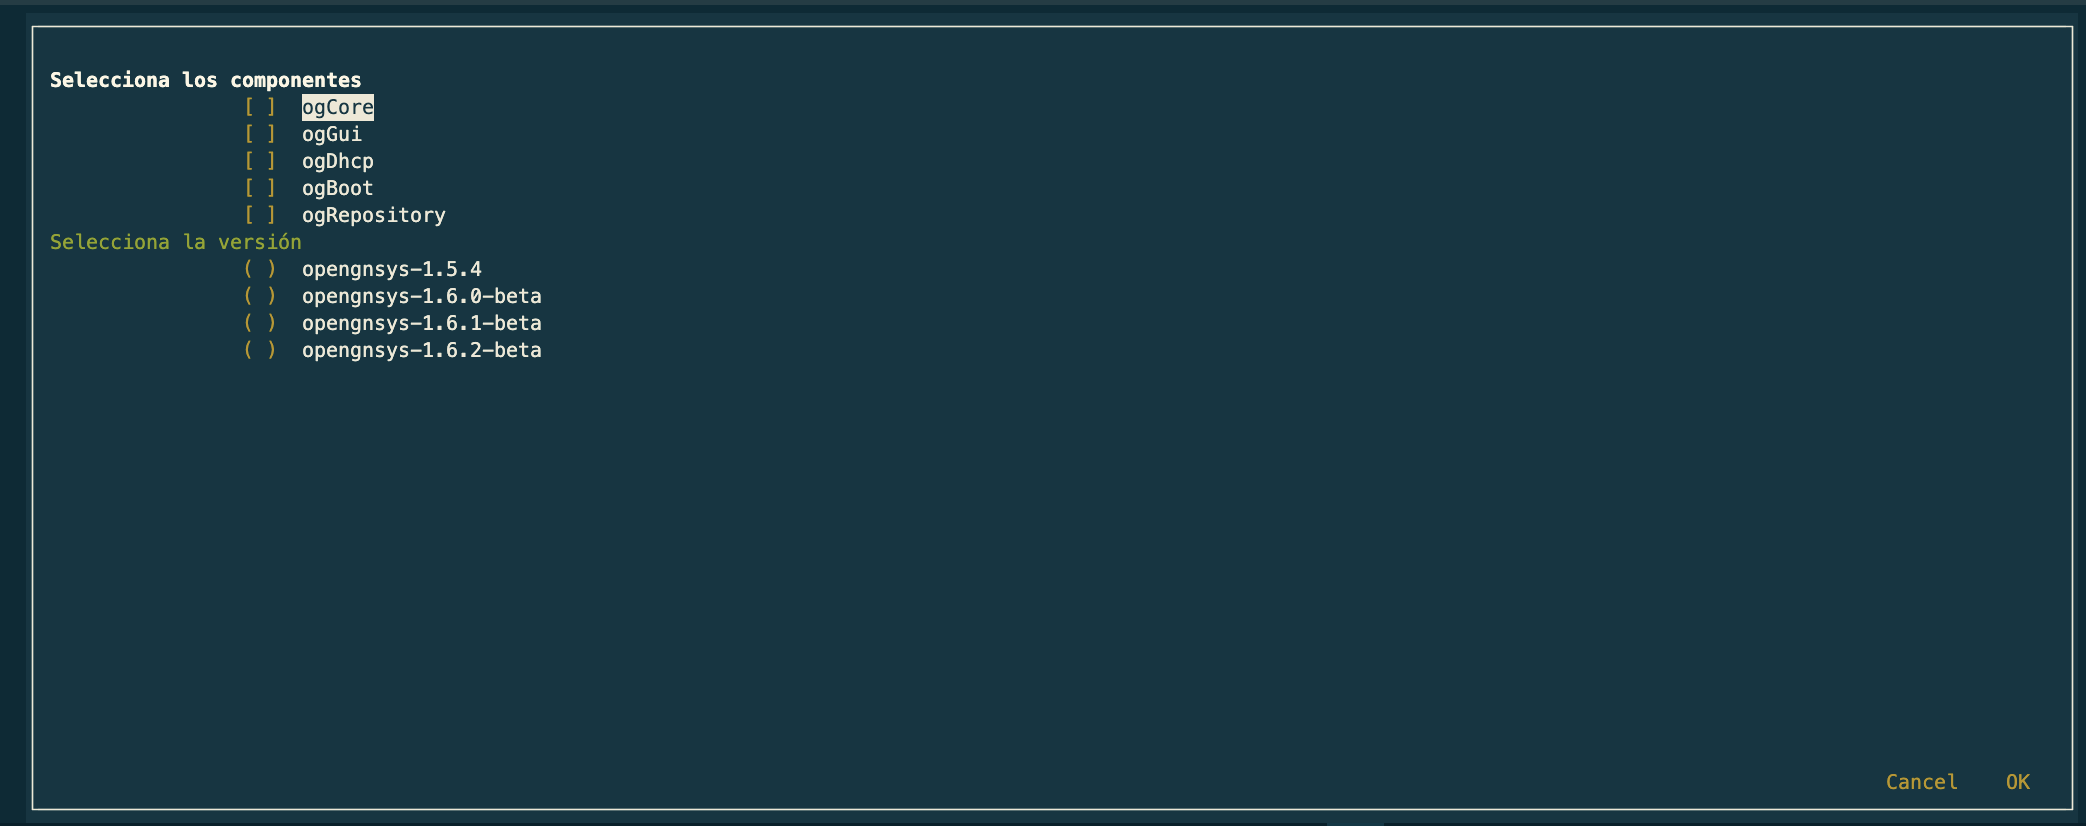
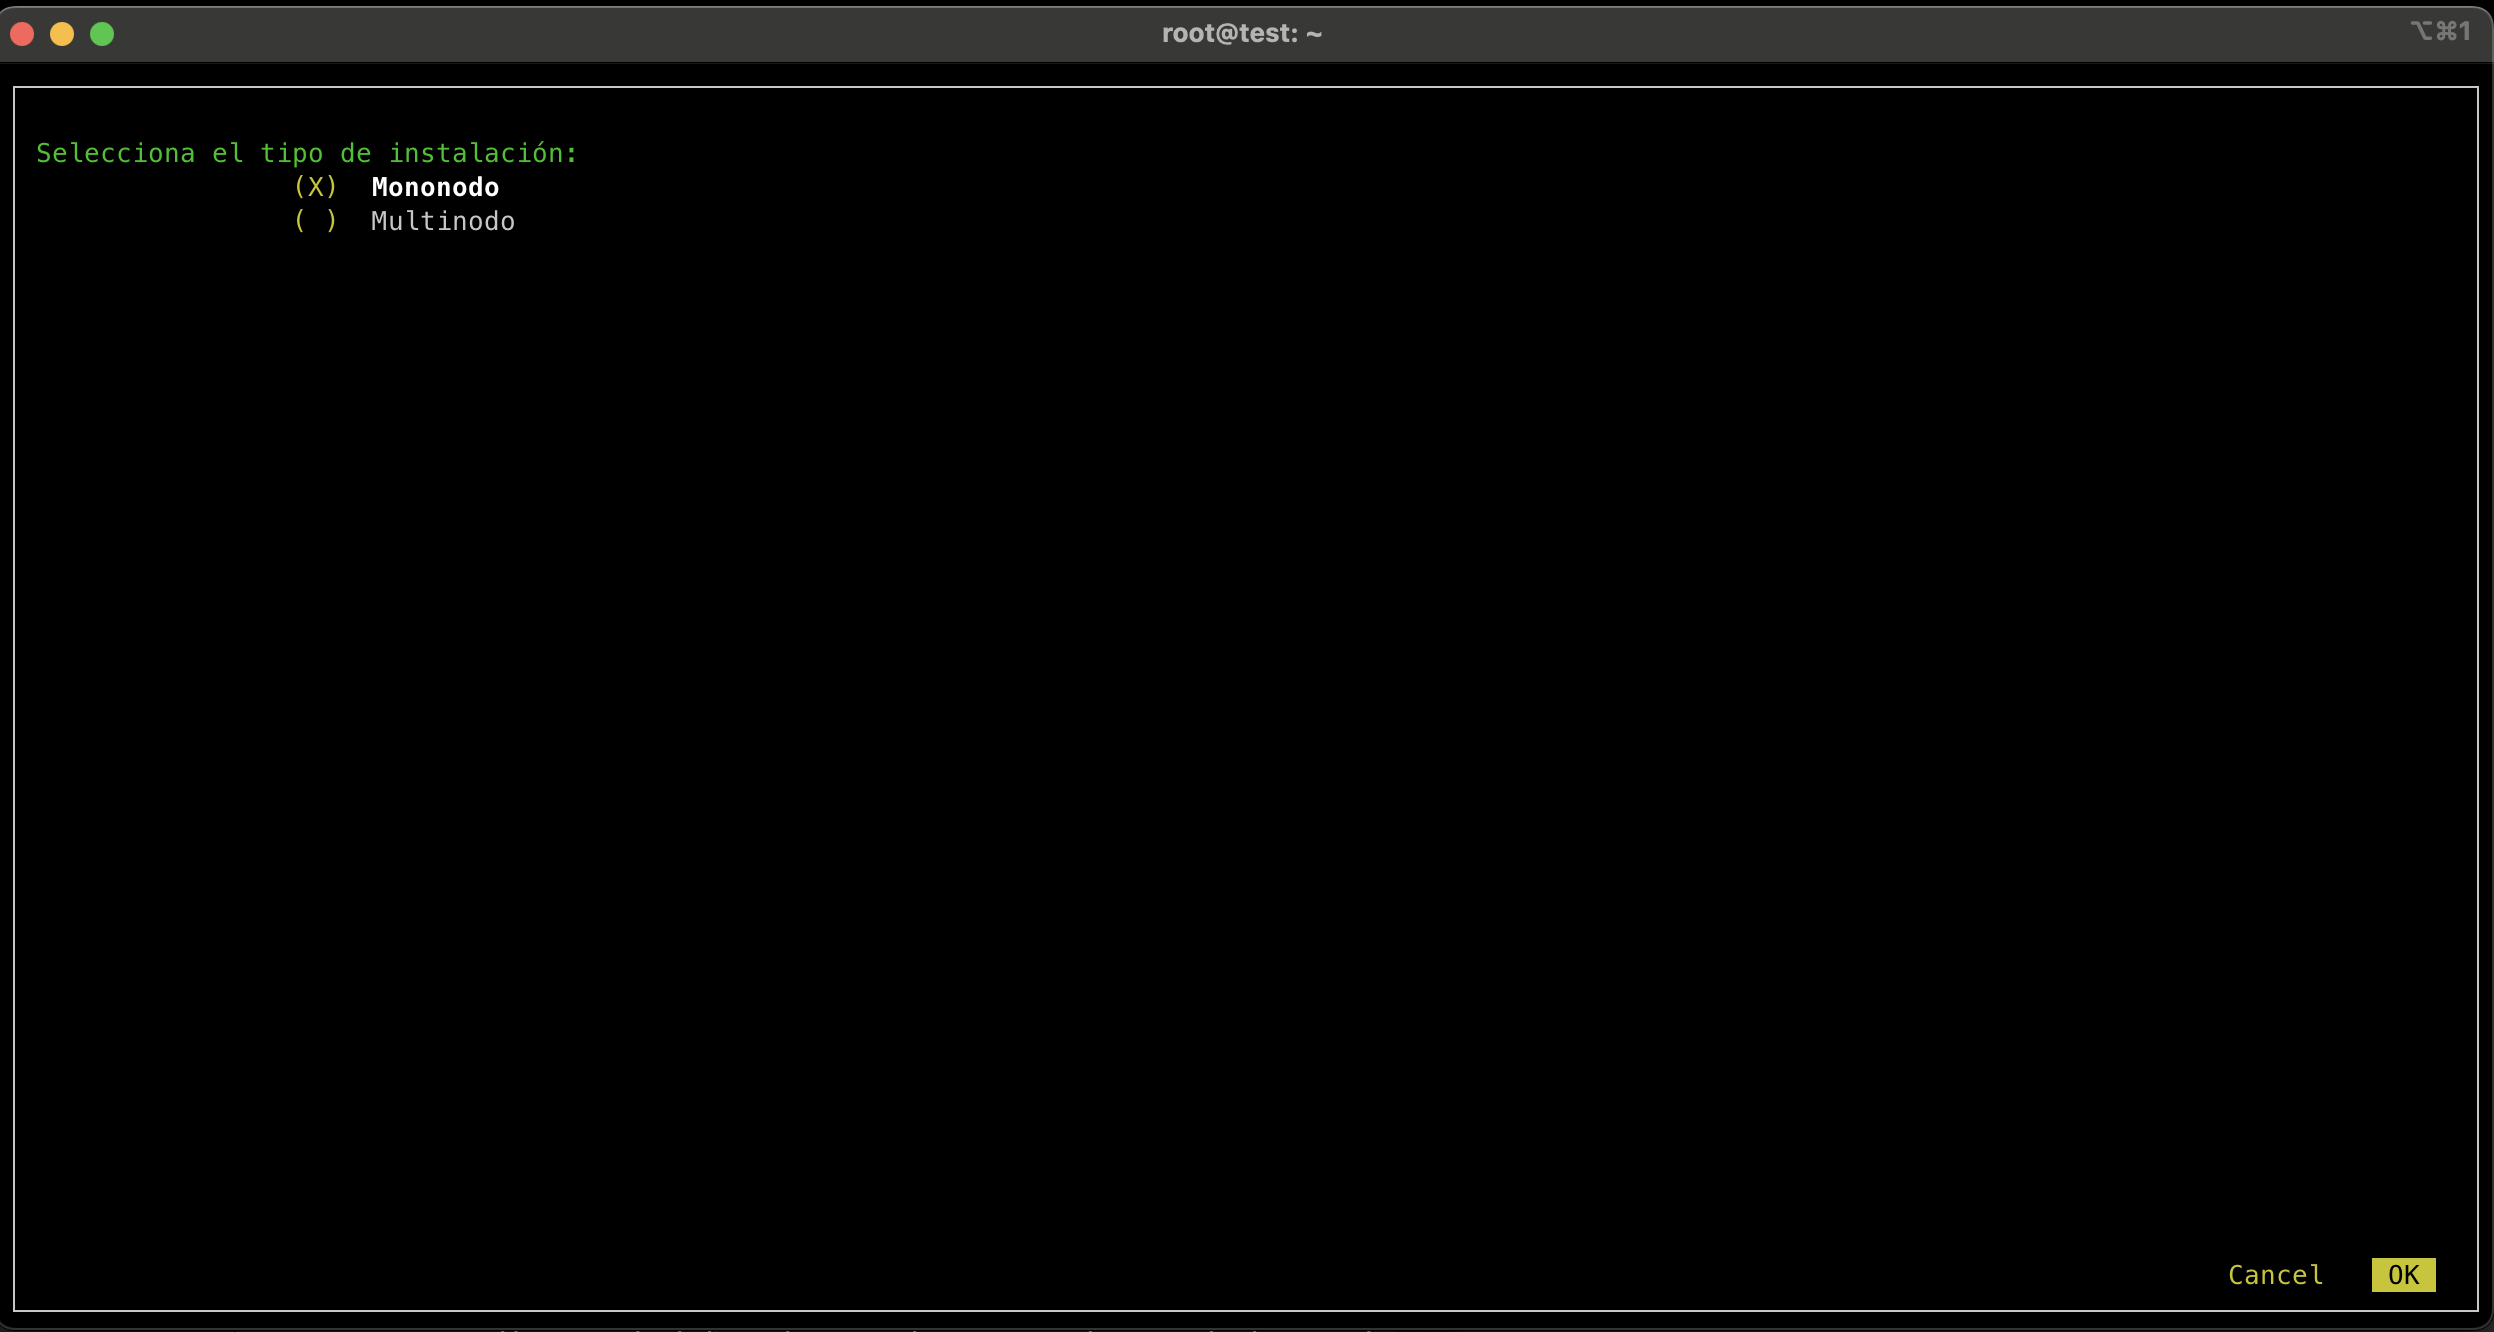
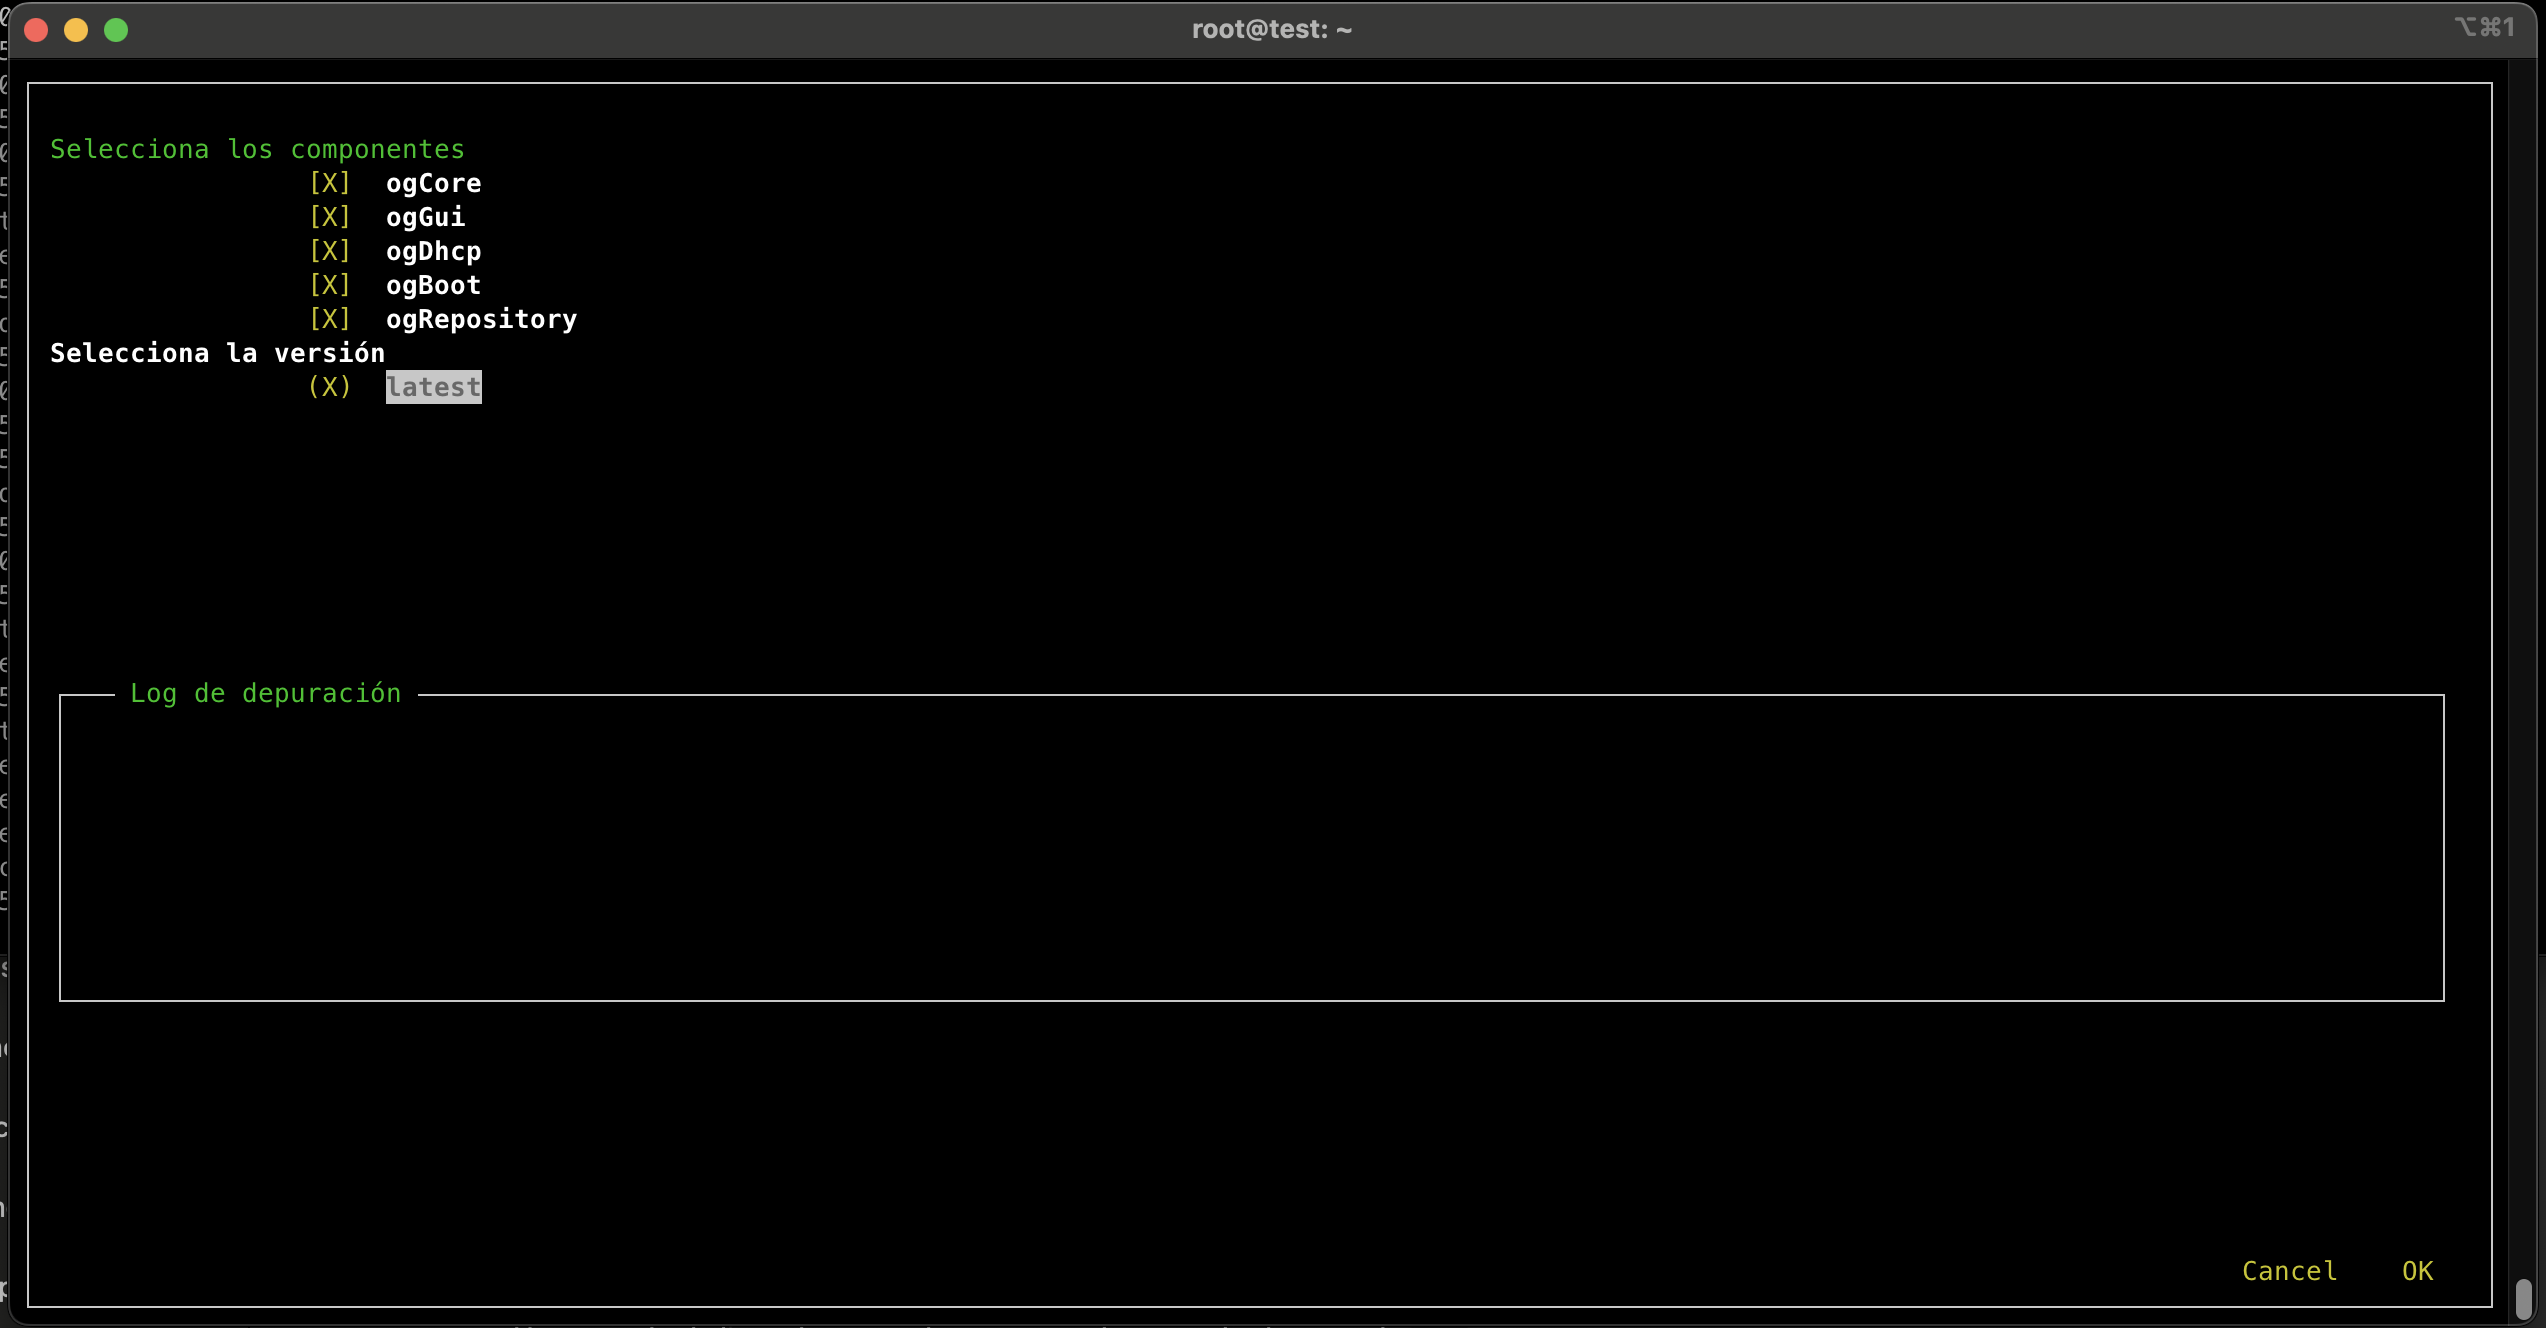
A screen appears showing the components to install and the version to install. Select the desired components and the required product version. In this example we’ll select all components and the version opengnsys_devel-0.0.10.
Installation type selection
Next you’ll choose whether to install all components on a single node or across multiple nodes.
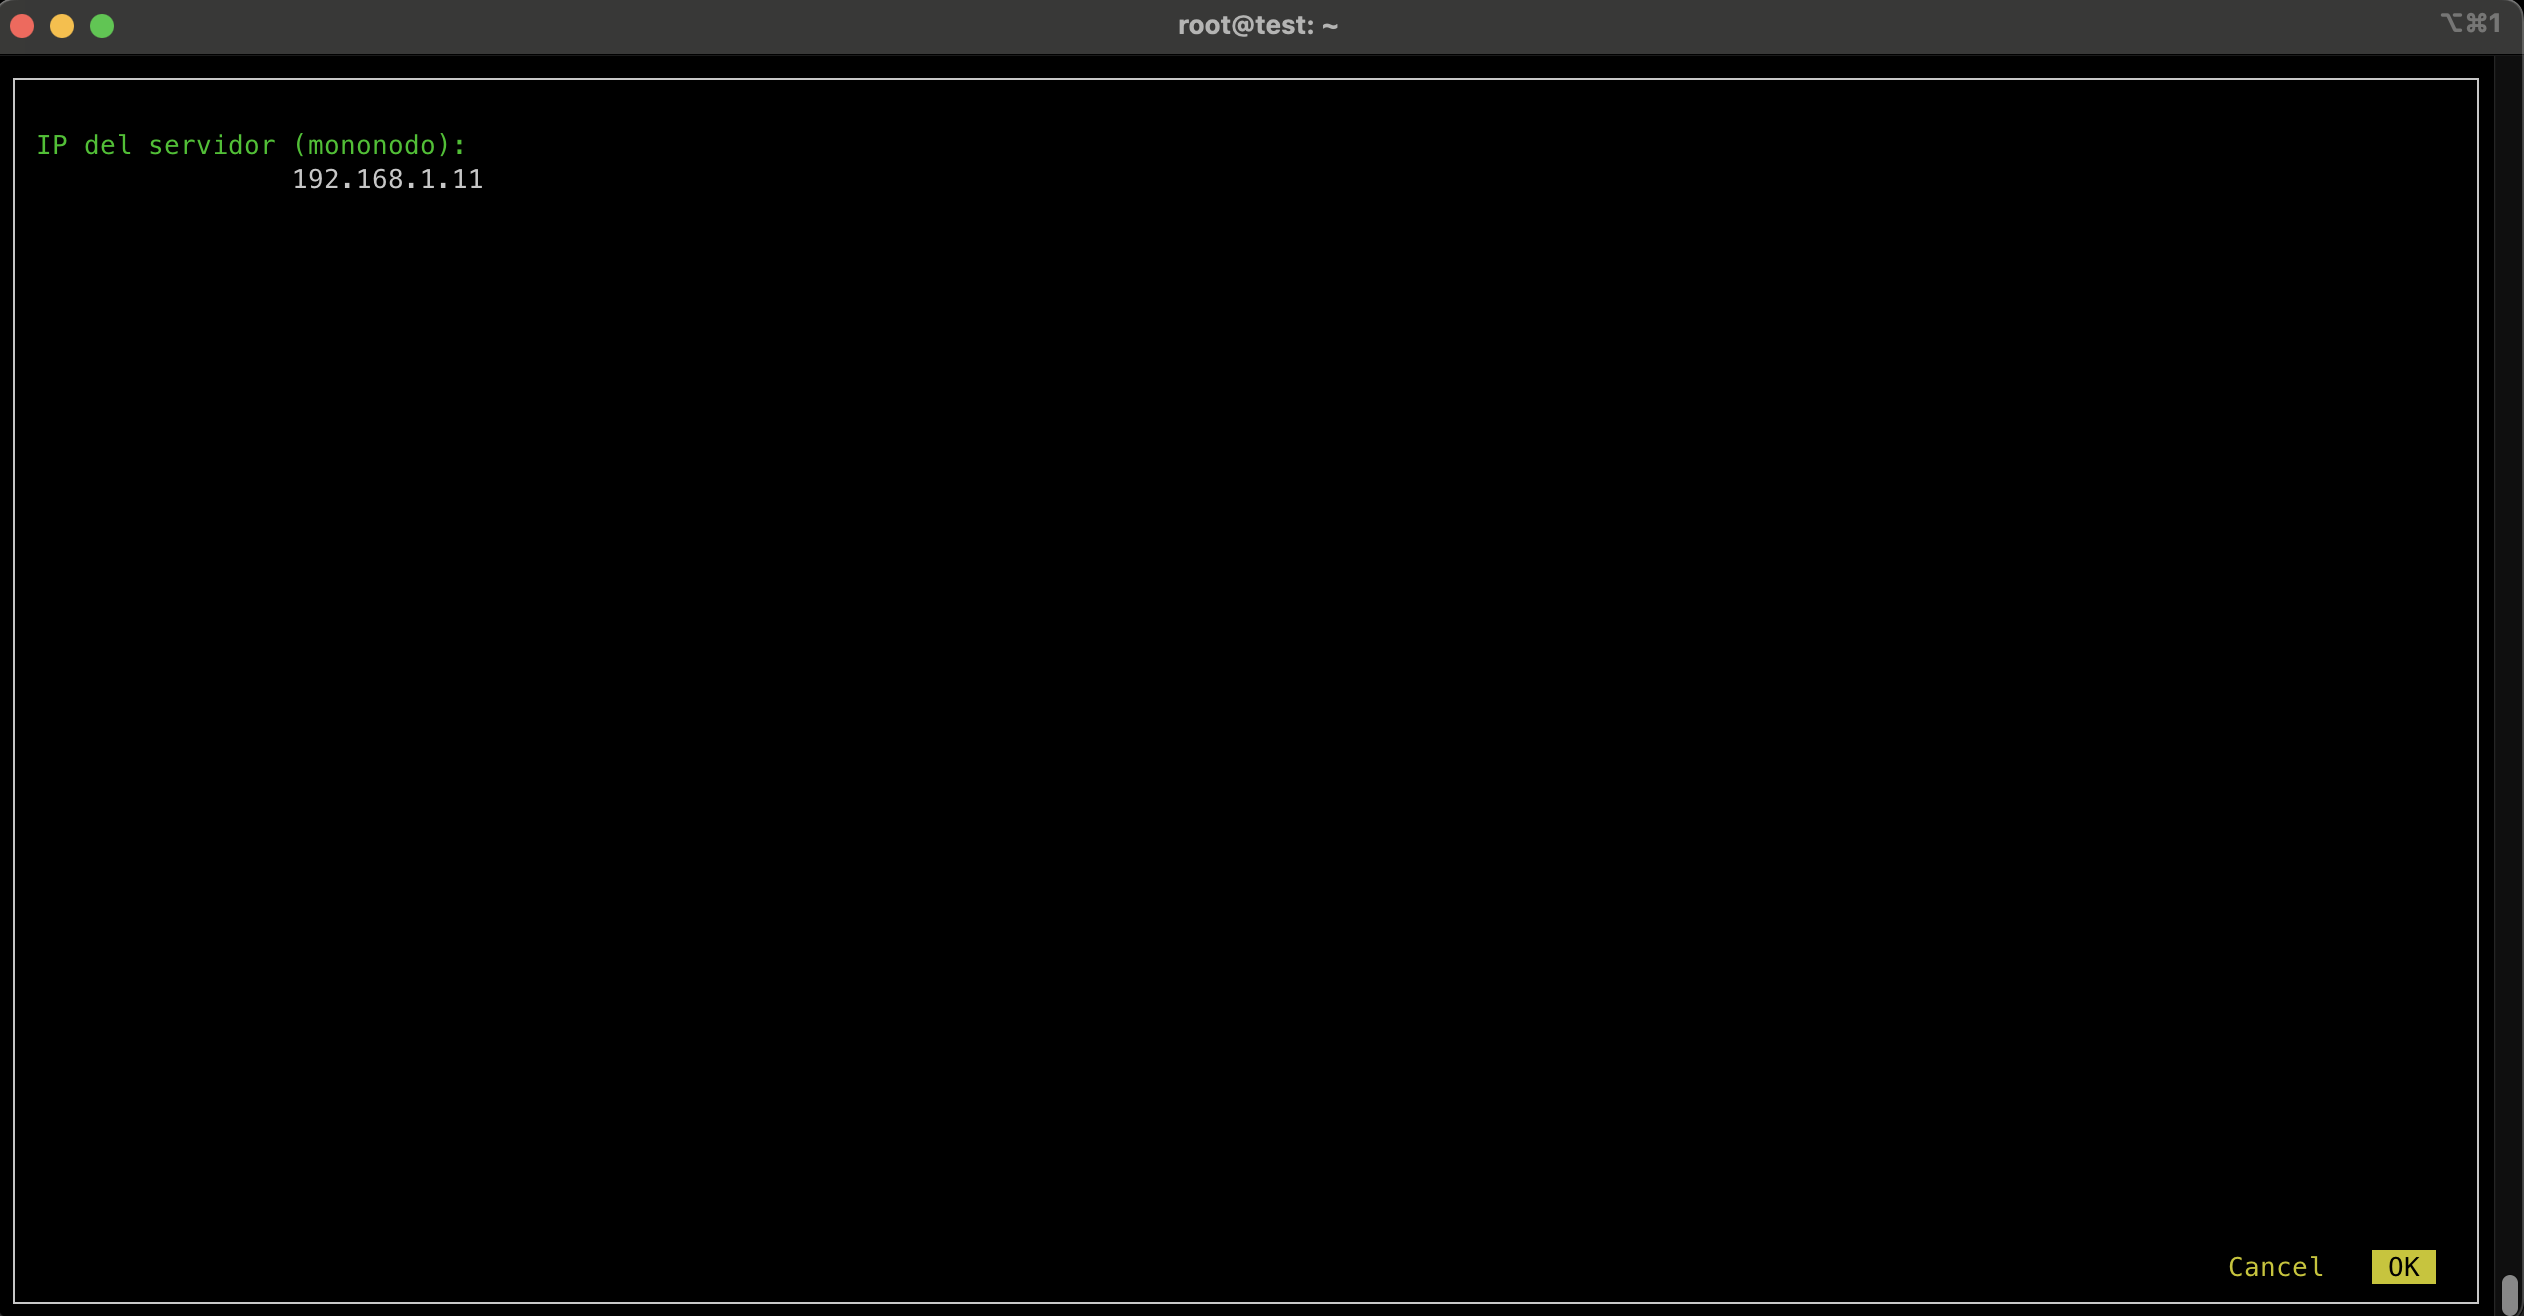
Single-node installation
If you select the single-node option:
You’ll then be prompted to enter the IP address where all components will communicate.
Next you’ll see a screen listing all selected components; just press OK.
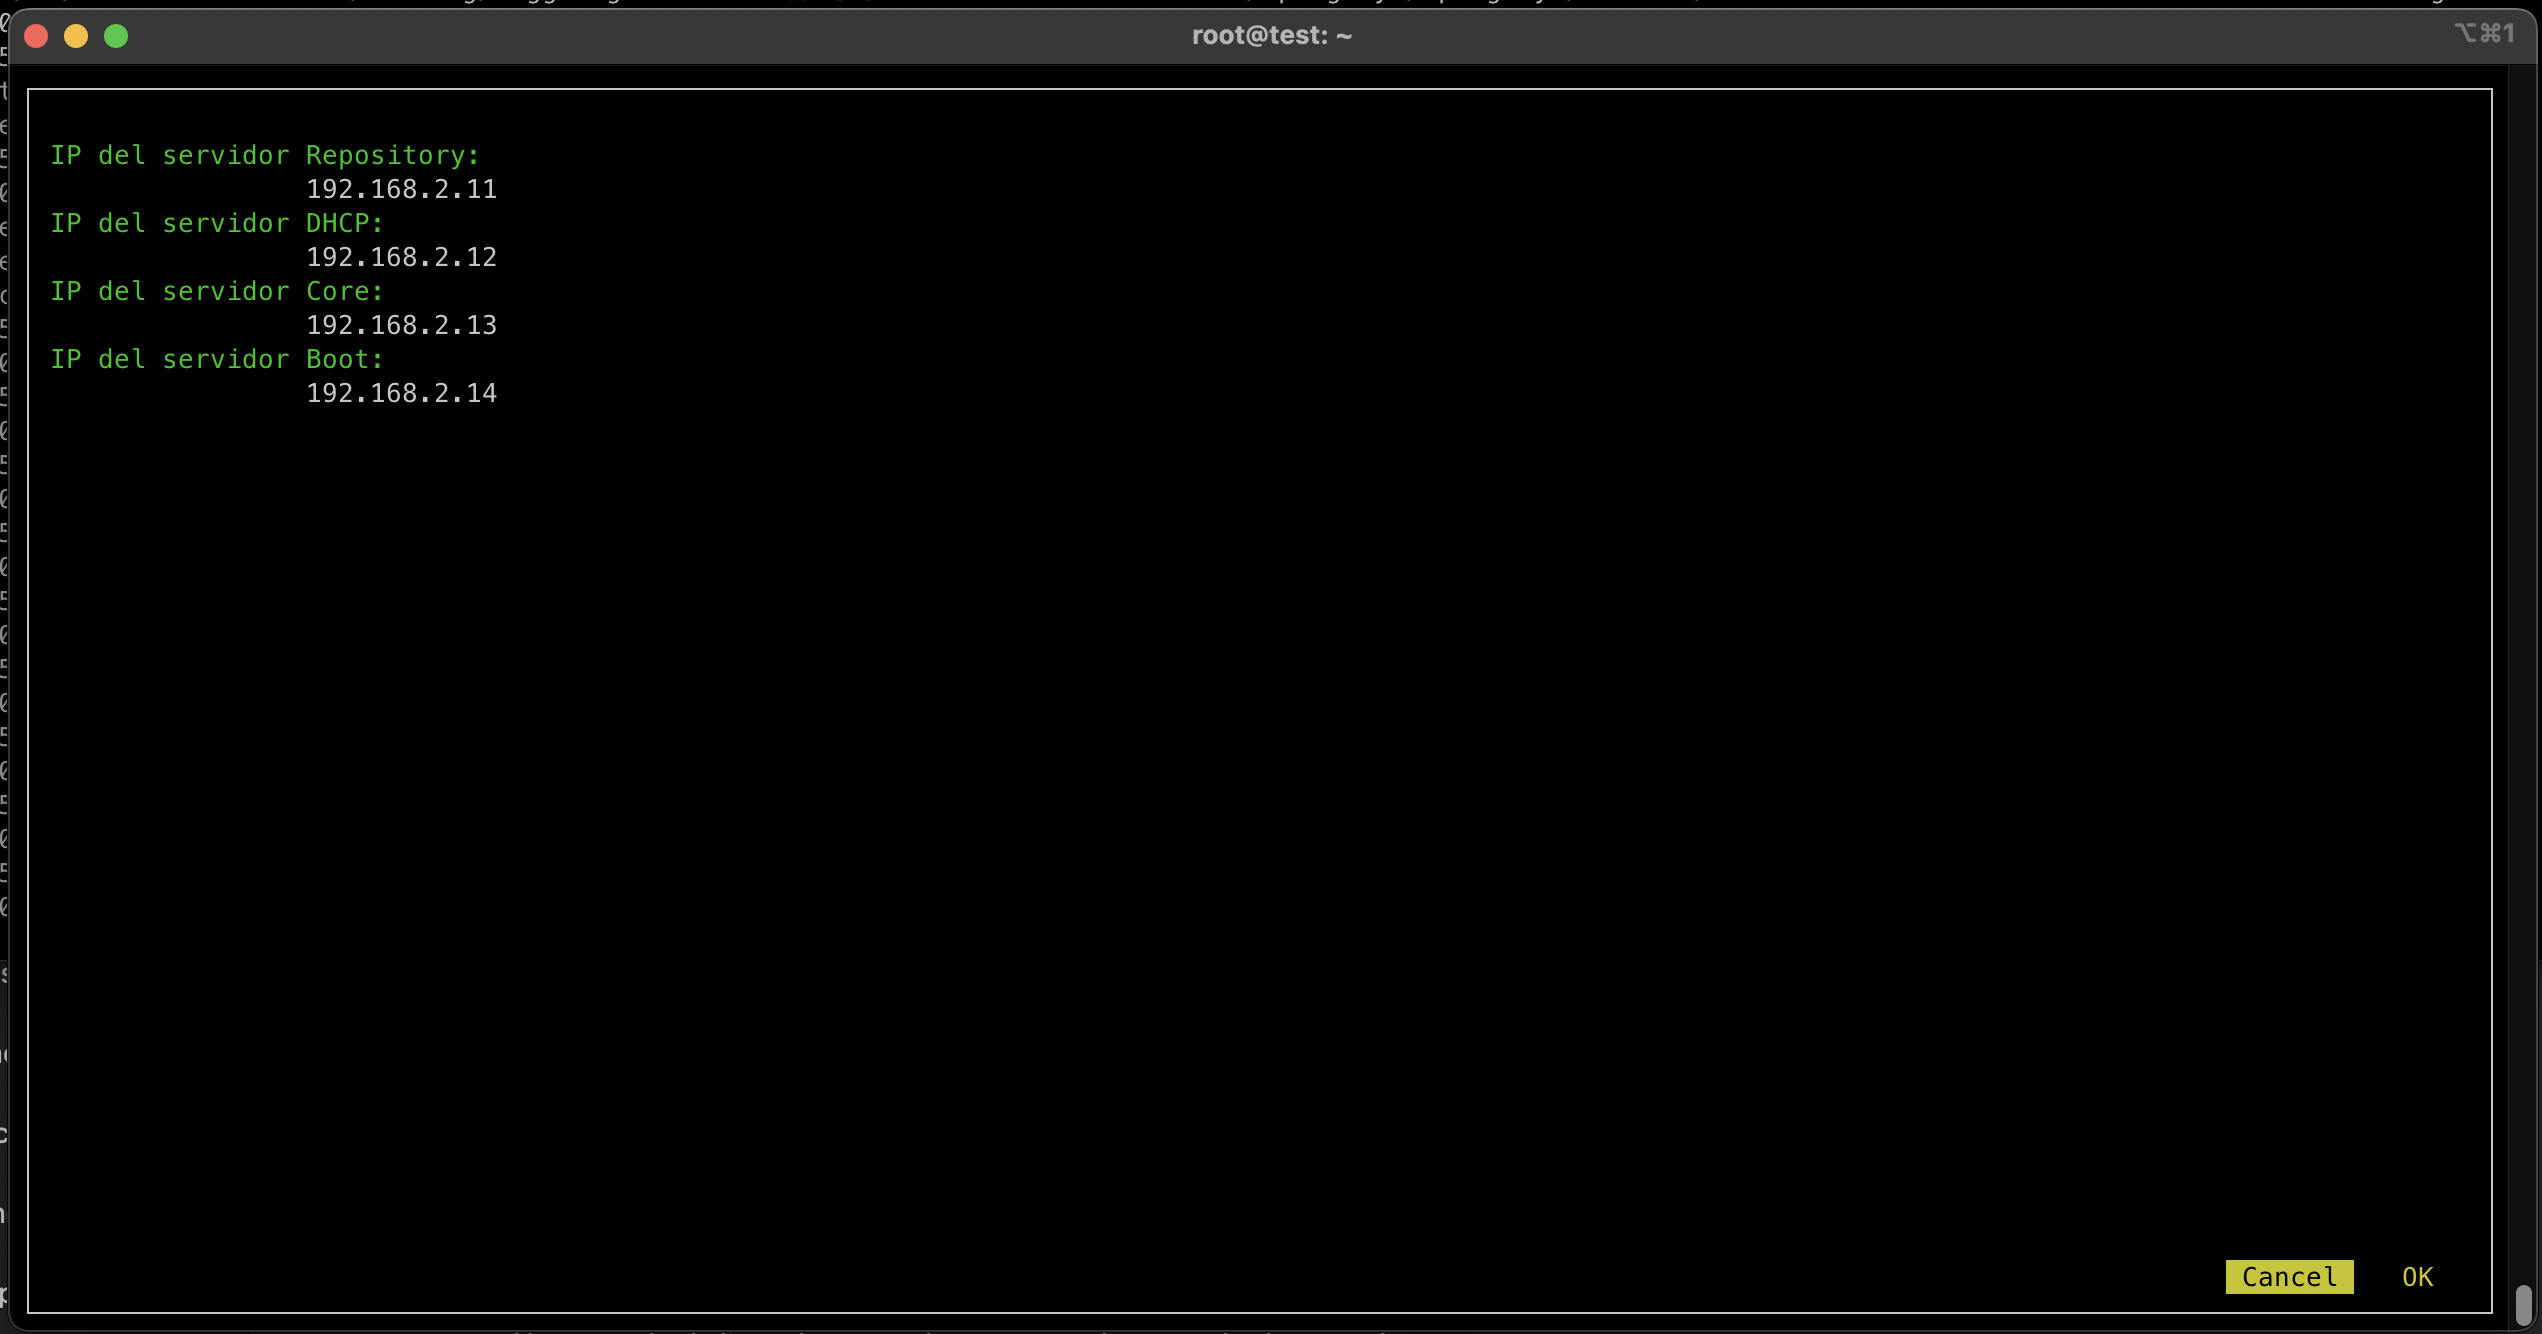
Multi-node installation
For a multi-node installation, where each component can reside on separate machines:

You’ll be prompted to enter the IPs of the machines where each component will be deployed.
Once these steps are completed for either single-node or multi-node, you’ll be shown screens to confirm the input parameters. If they’re correct, pressing OK is sufficient. Details for each component follow.
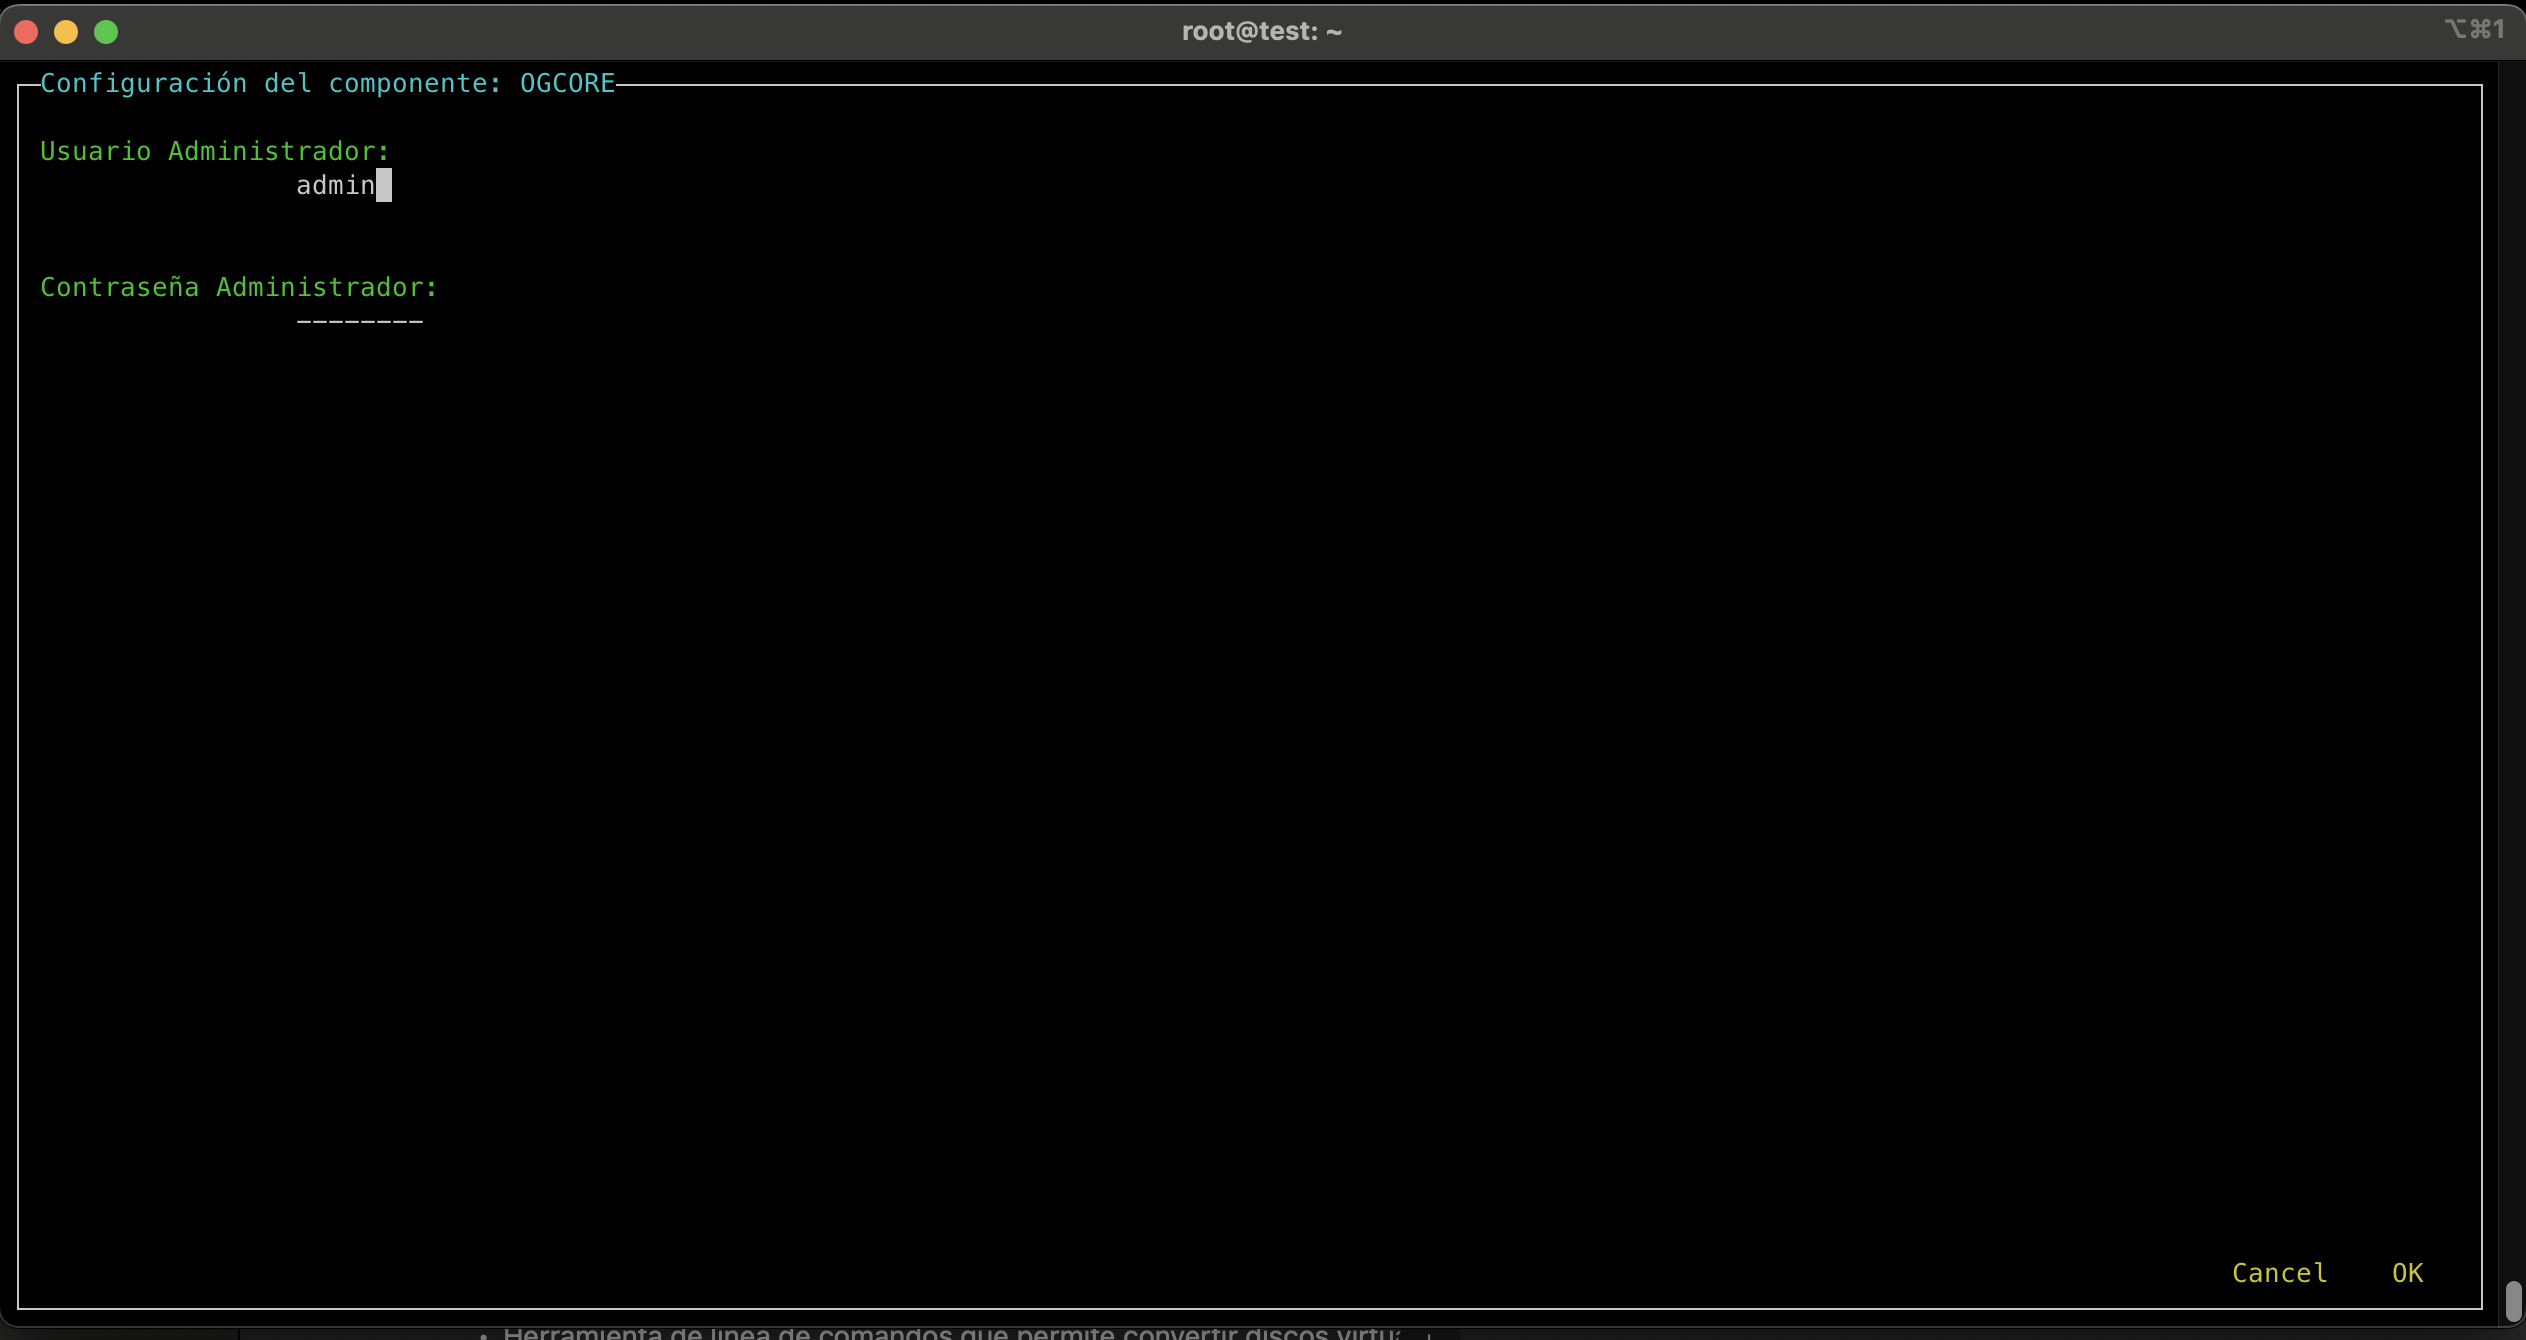
ogCore
For the ogCore service the required data are:
- Administrator user: default value ogadmin
- User password: default value 12345678
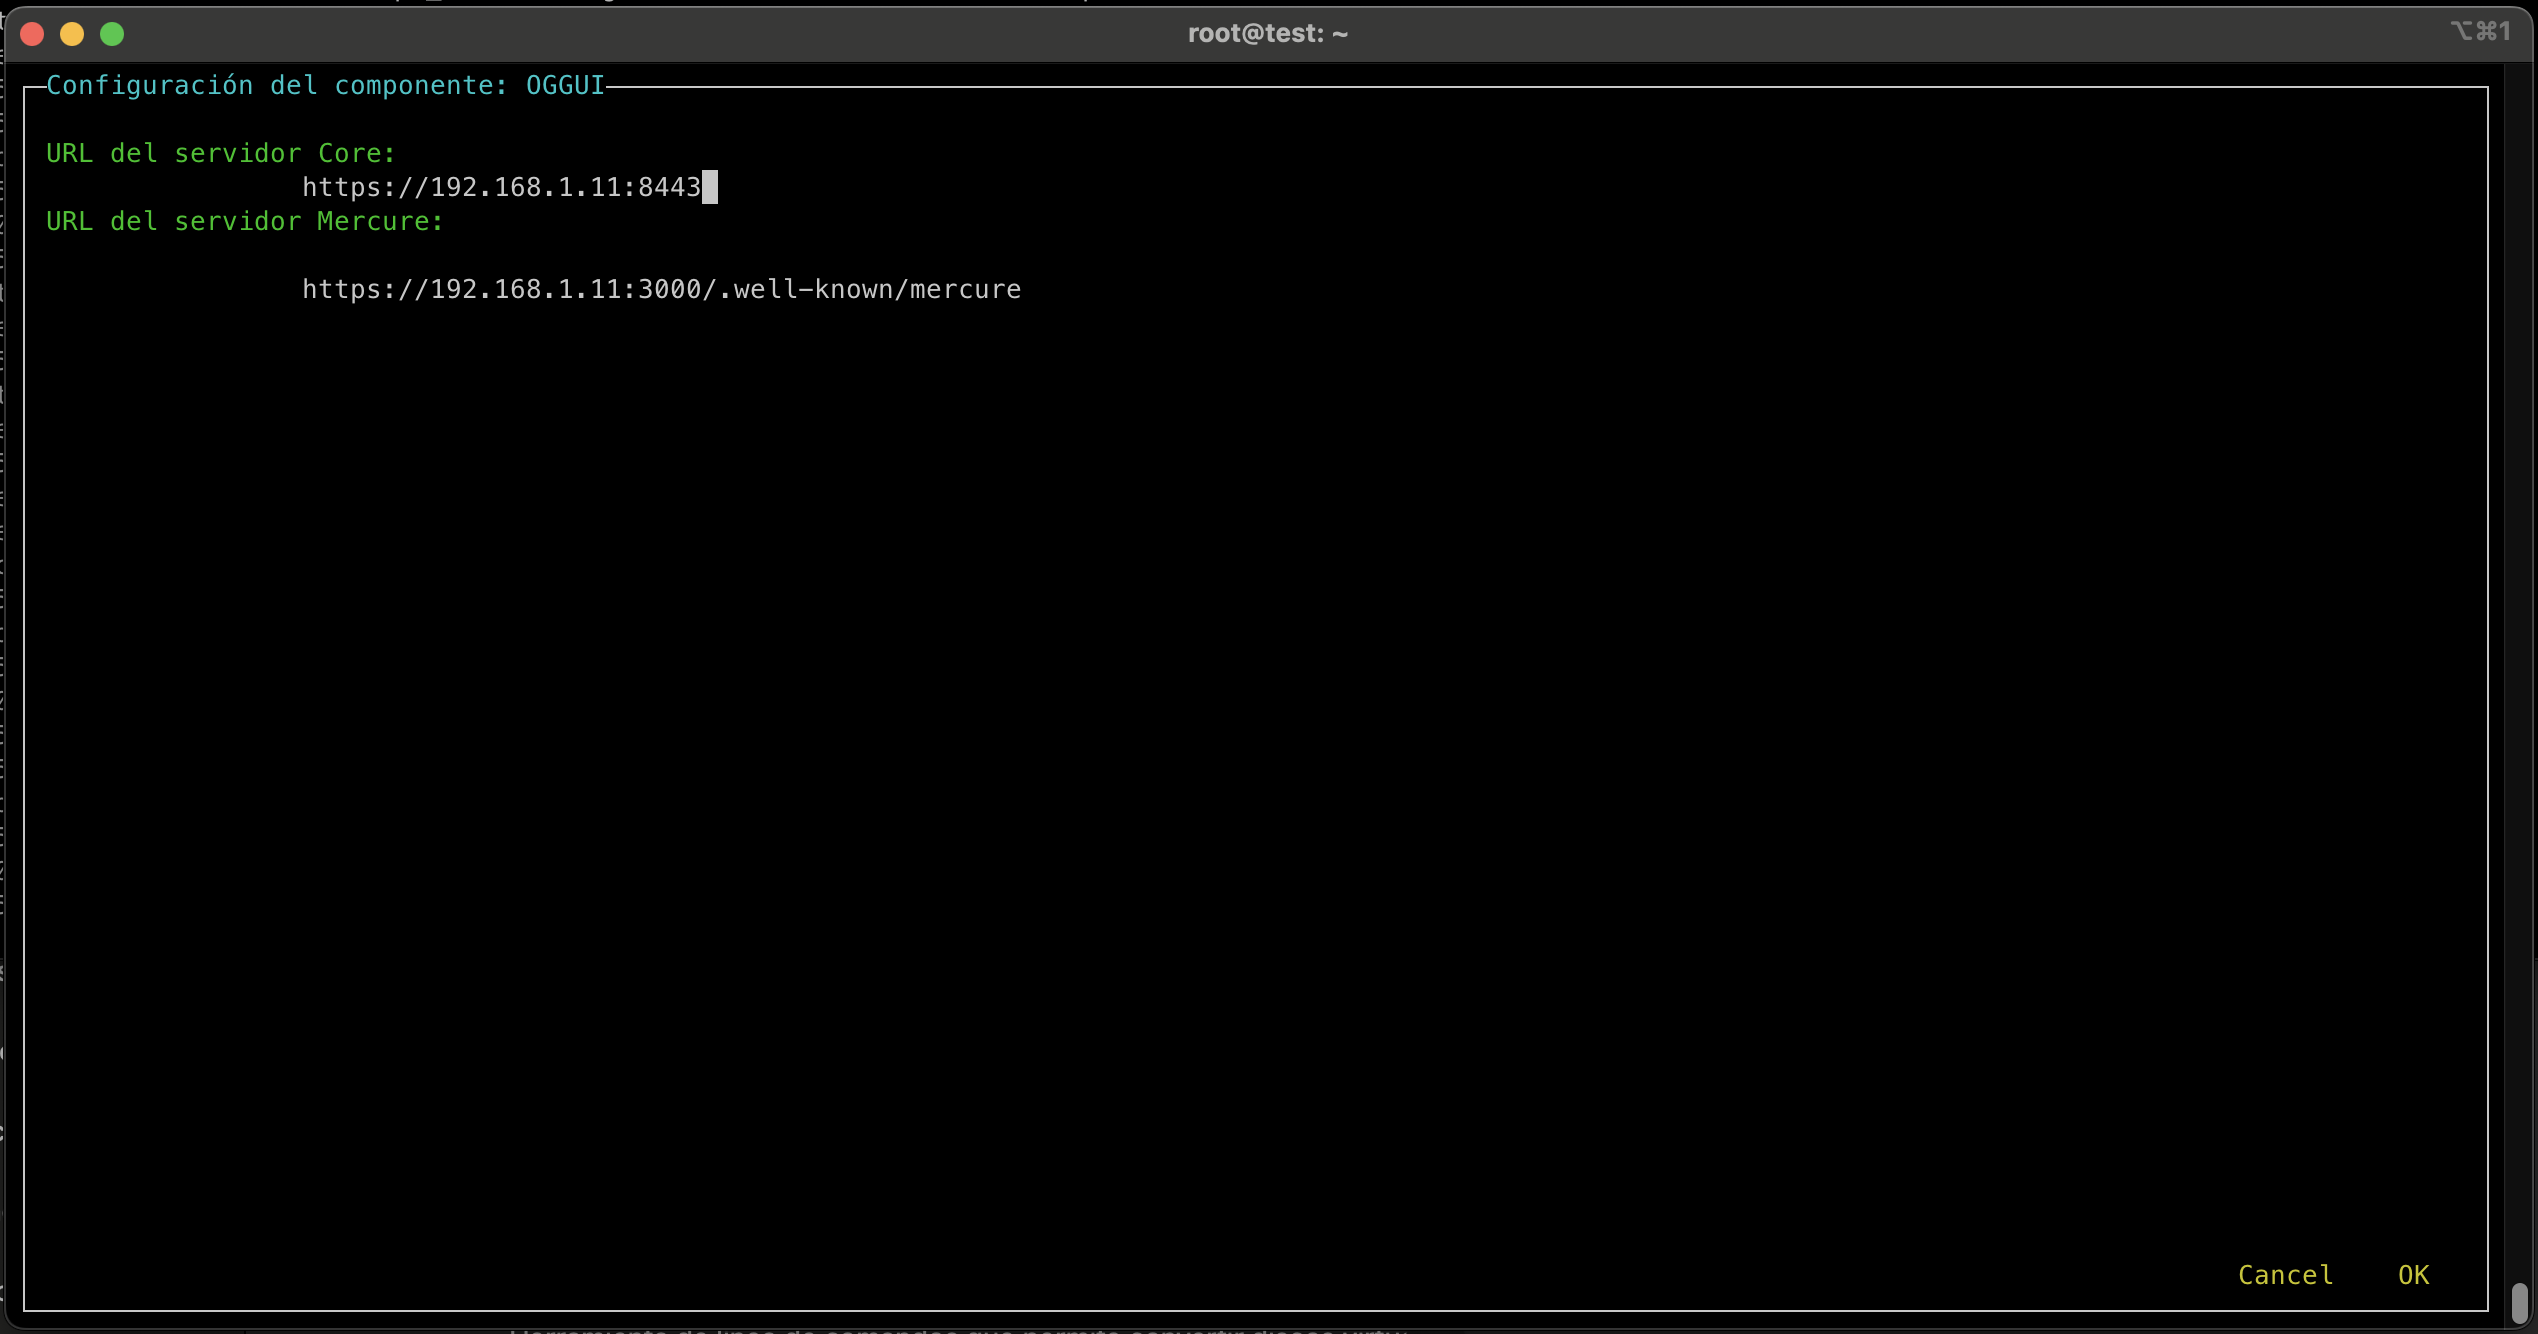
ogGui
For the graphical interface service, the required data are:
- ogCore server connection URL: default https://<default-route-interface-IP>:8443
- Mercure connection URL: default https://<default-route-interface-IP>:3000/.well-known/mercure
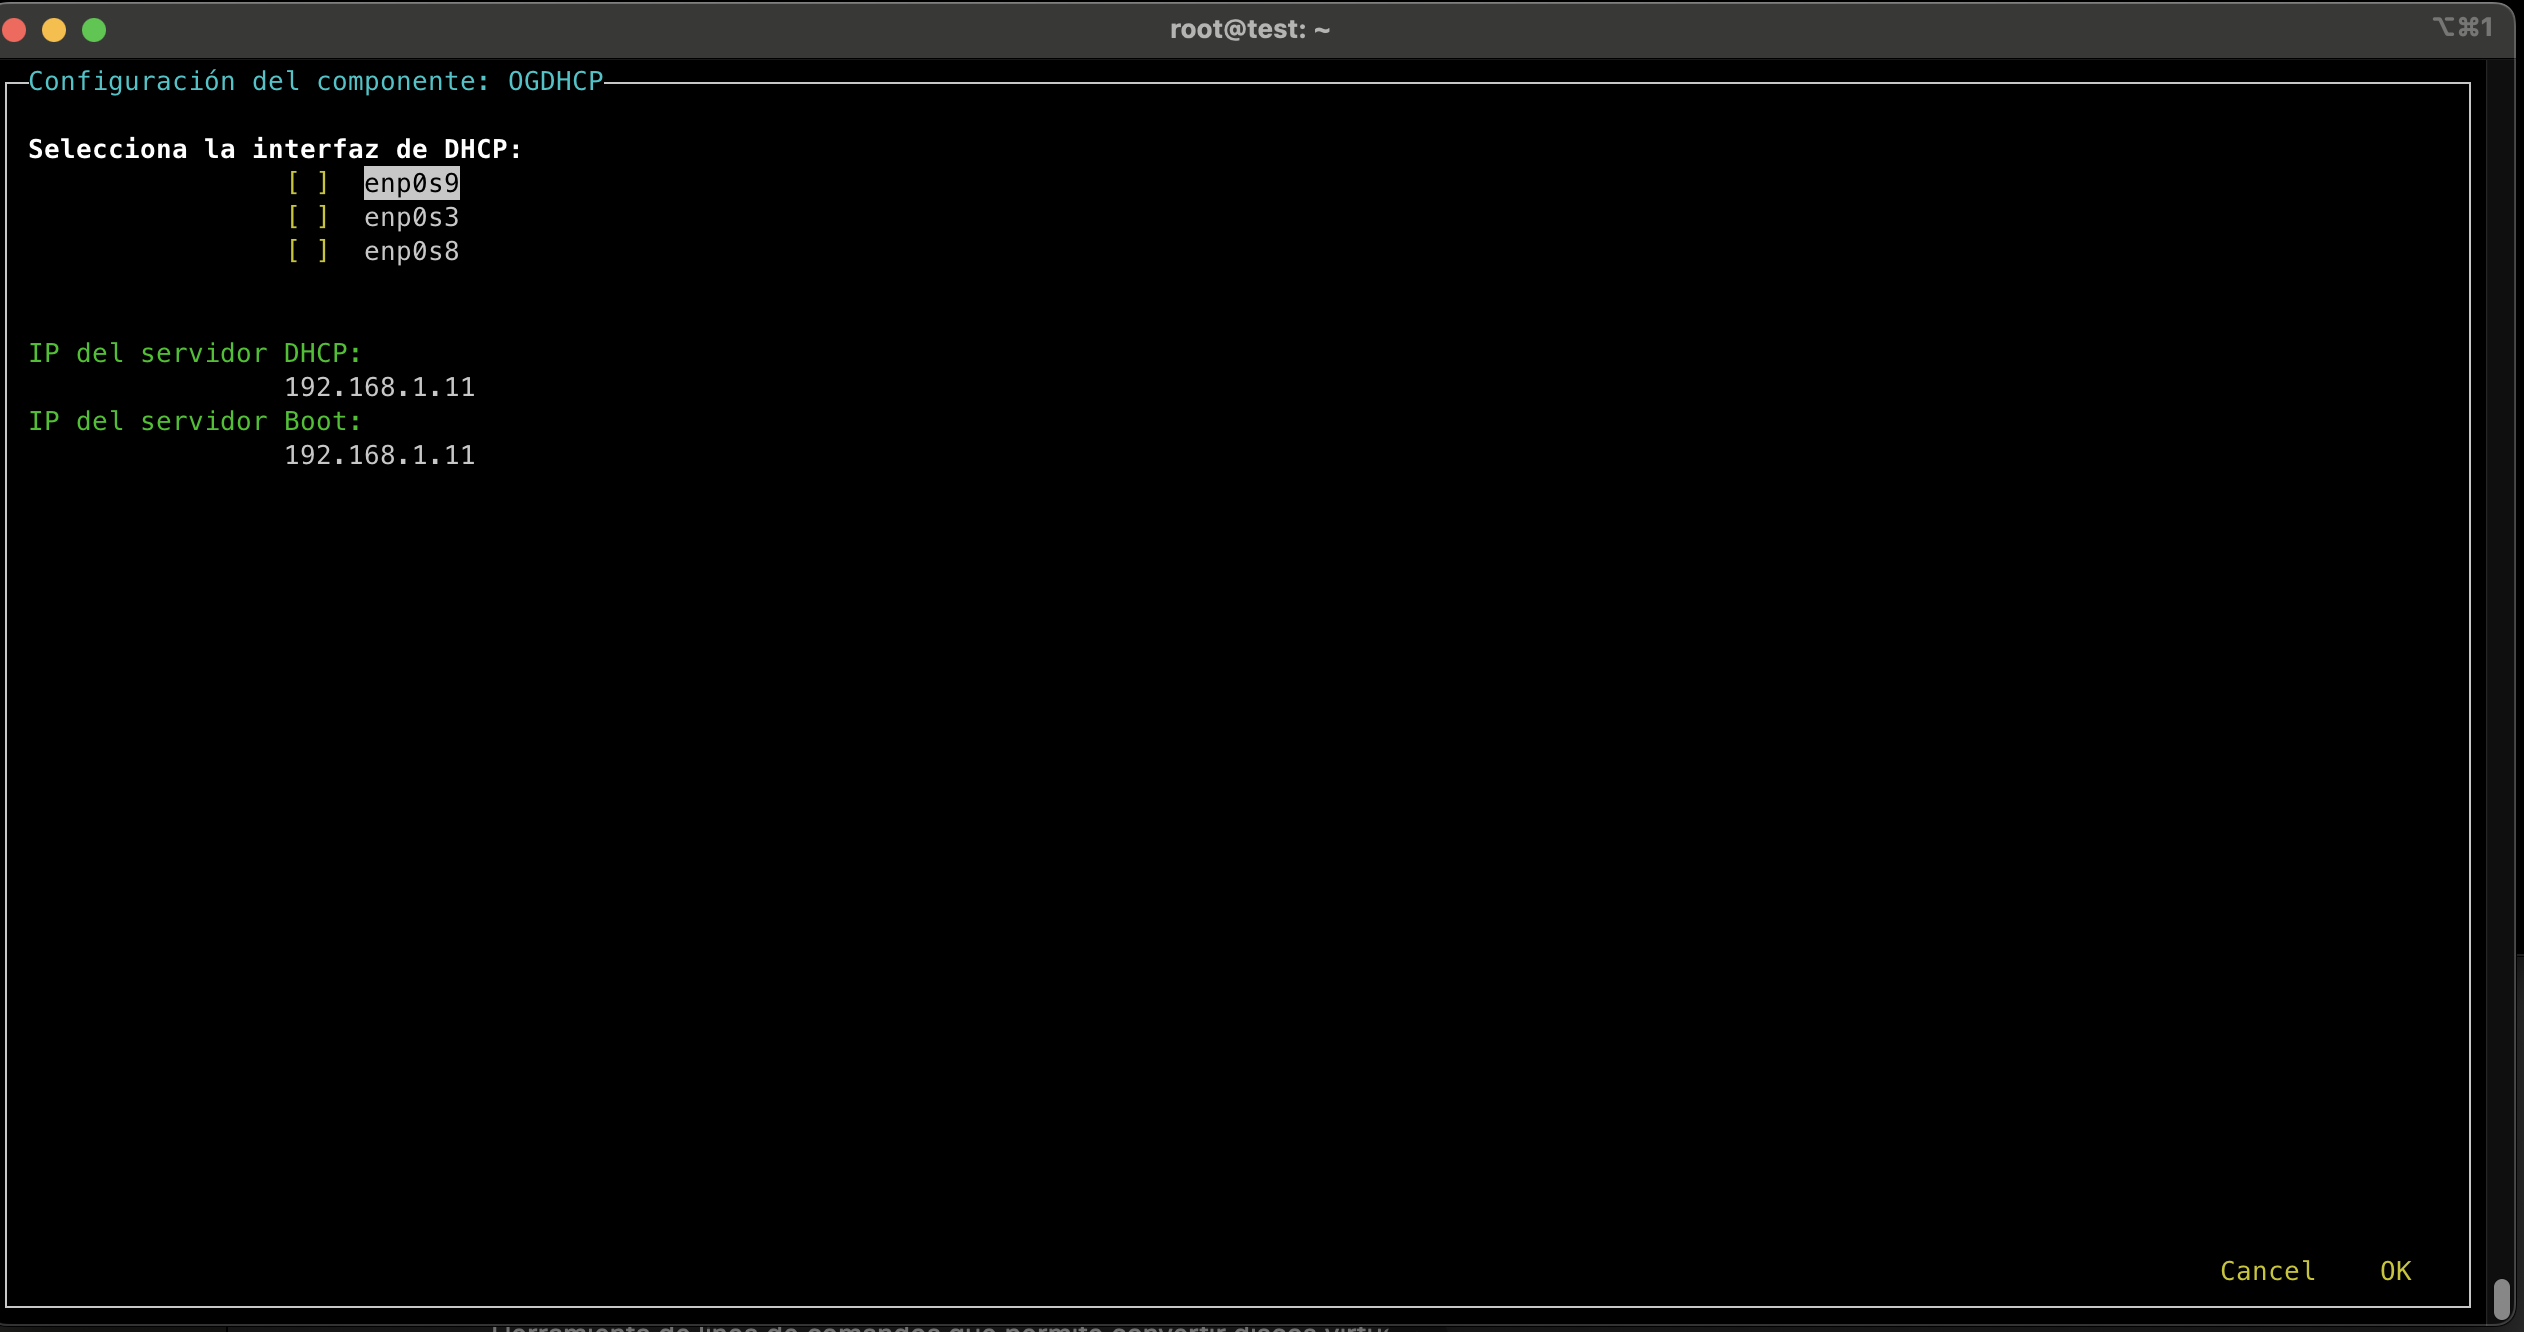
ogDHCP
For the DHCP service the parameters requested are:
- Network interfaces to serve DHCP. A list of available interfaces is shown; select the ones you want to provide IPs on.
- ogBoot server IP (default: IP of the default-route interface)
- DHCP server IP (default: IP of the default-route interface)
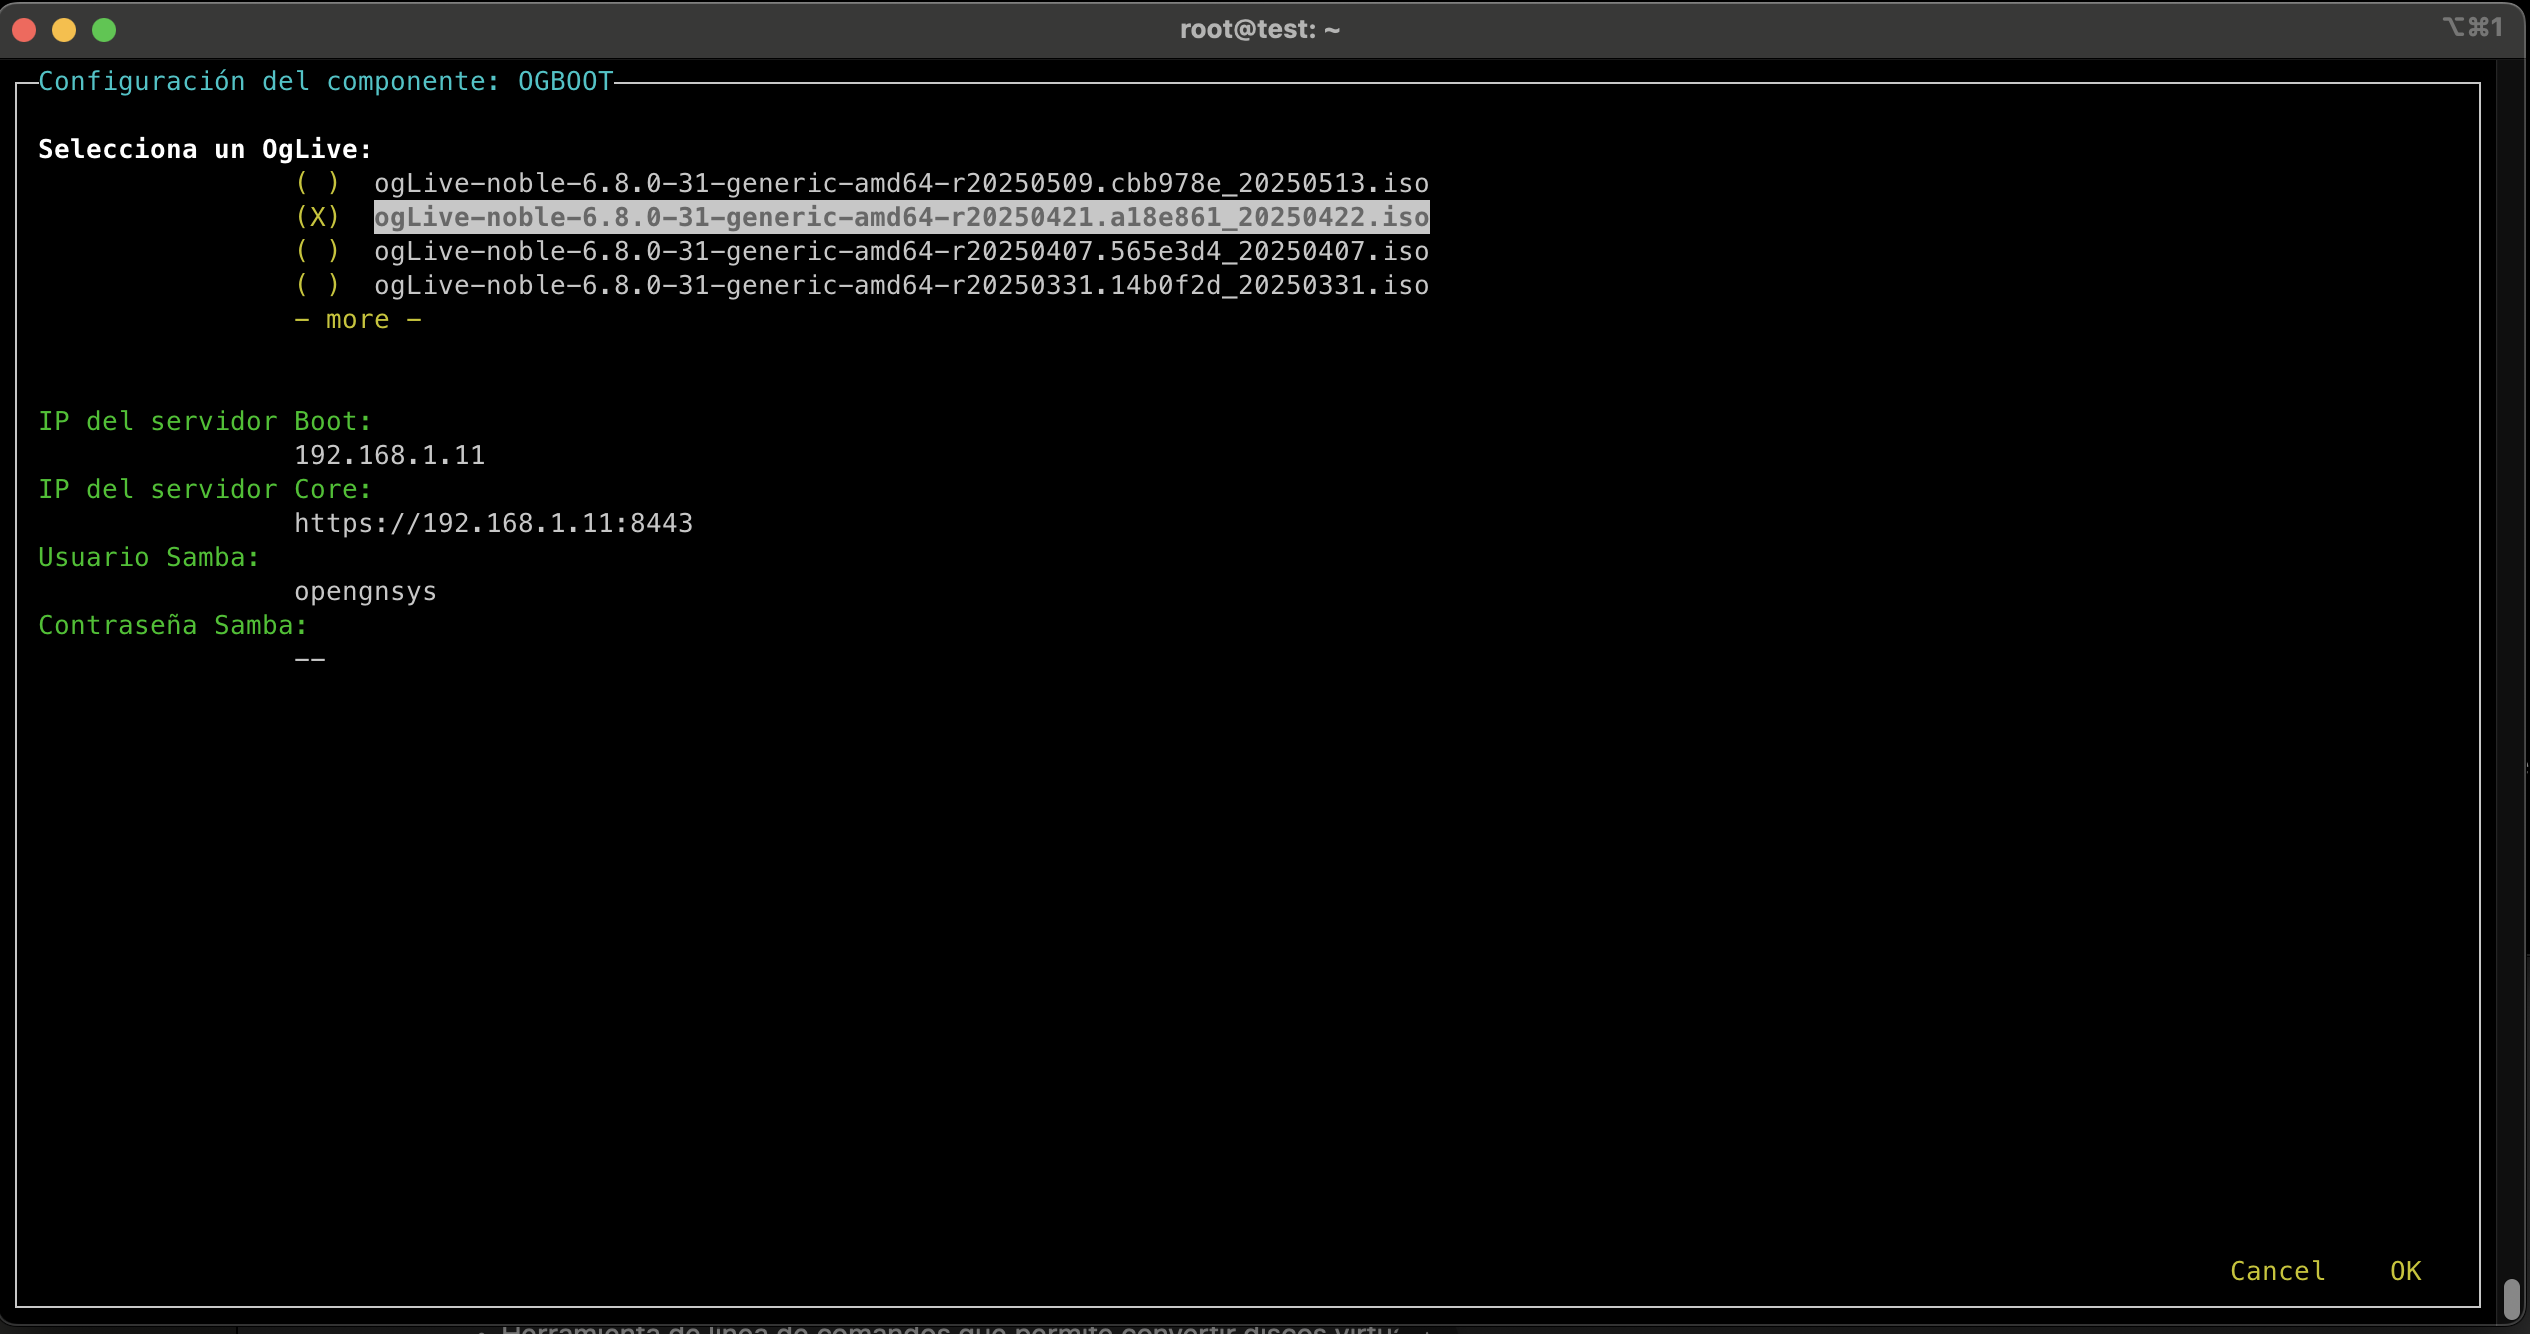
ogBoot (PXE)
Required parameters:
- ogLive to install on the boot server. The list comes from the ogLives available in the downloads directory.
- ogBoot server IP (default: IP of the default-route interface)
- Port for ogBoot service (default: 8082)
- ogCore URL (default: IP of the default-route interface)
- Samba export user (note: this is embedded in the ogLive, so don’t change it unless your ogLive was created with a custom user)
- Samba user password (note: as above, embedded in the ogLive)
ogRepository
Required parameters:
- ogRepository service IP (default: IP of the default-route interface)
- ogCore service IP (default: IP of the default-route interface)
- Samba export user (note: embedded in the ogLive)
- Samba user password (note: embedded in the ogLive)

Installation
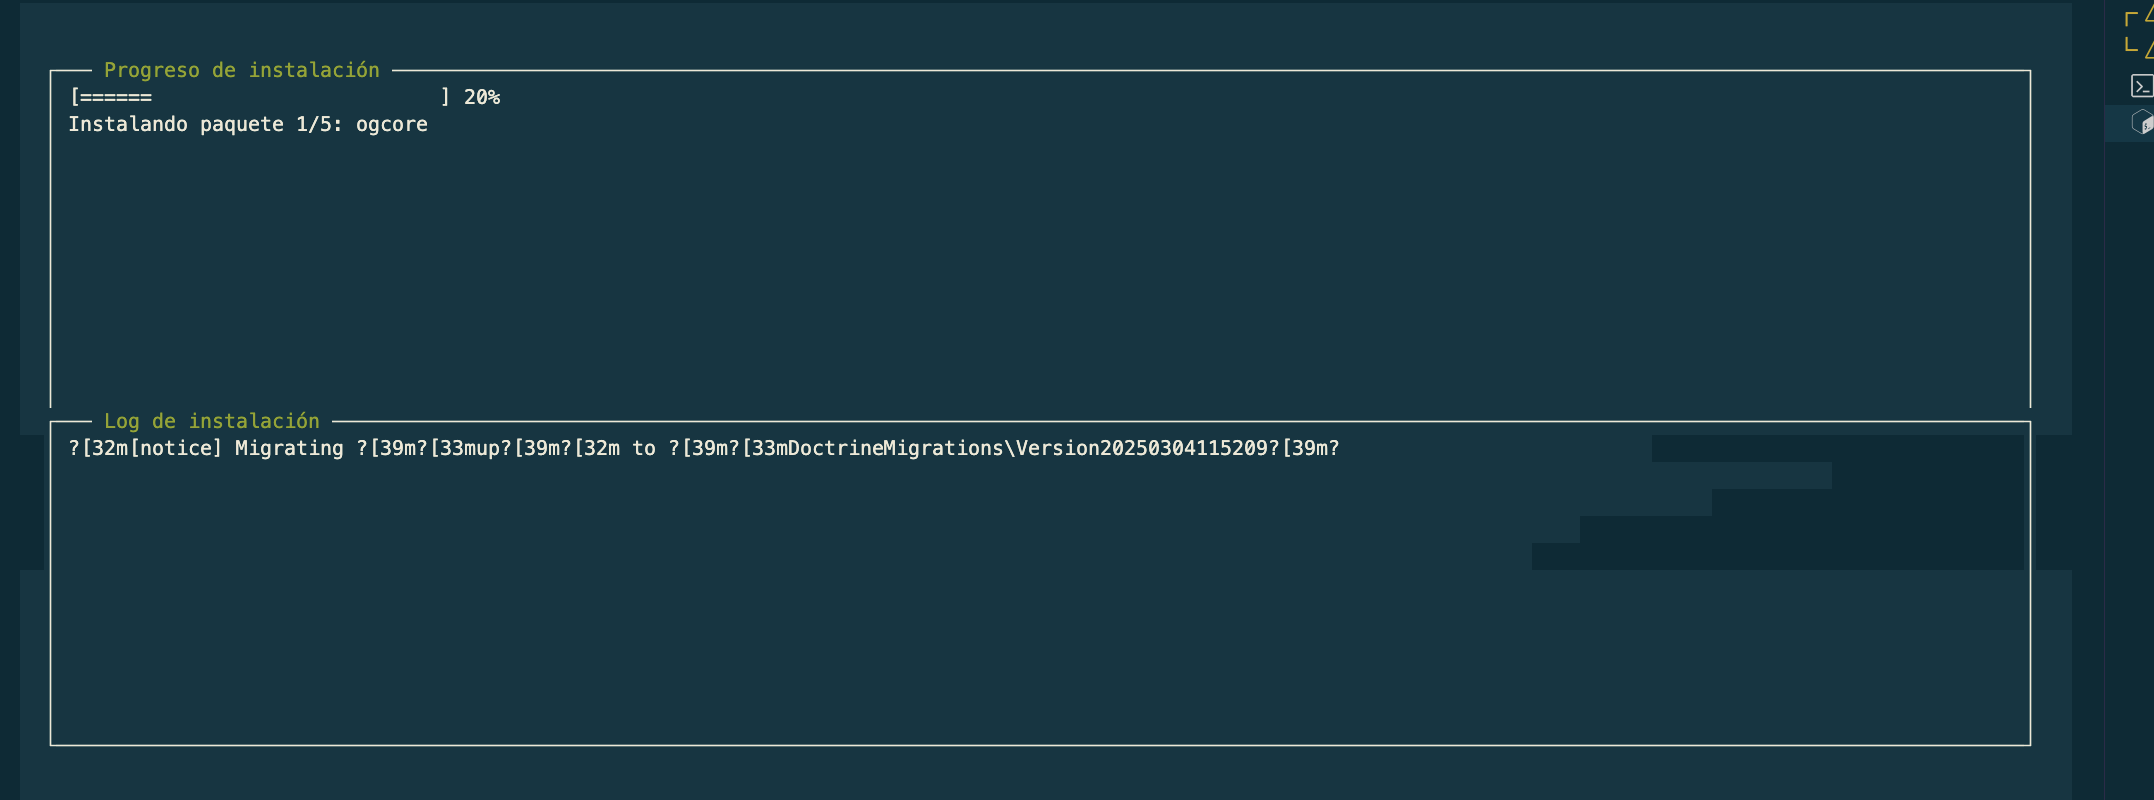
Once all forms are completed, the installation process begins and a screen shows progress:
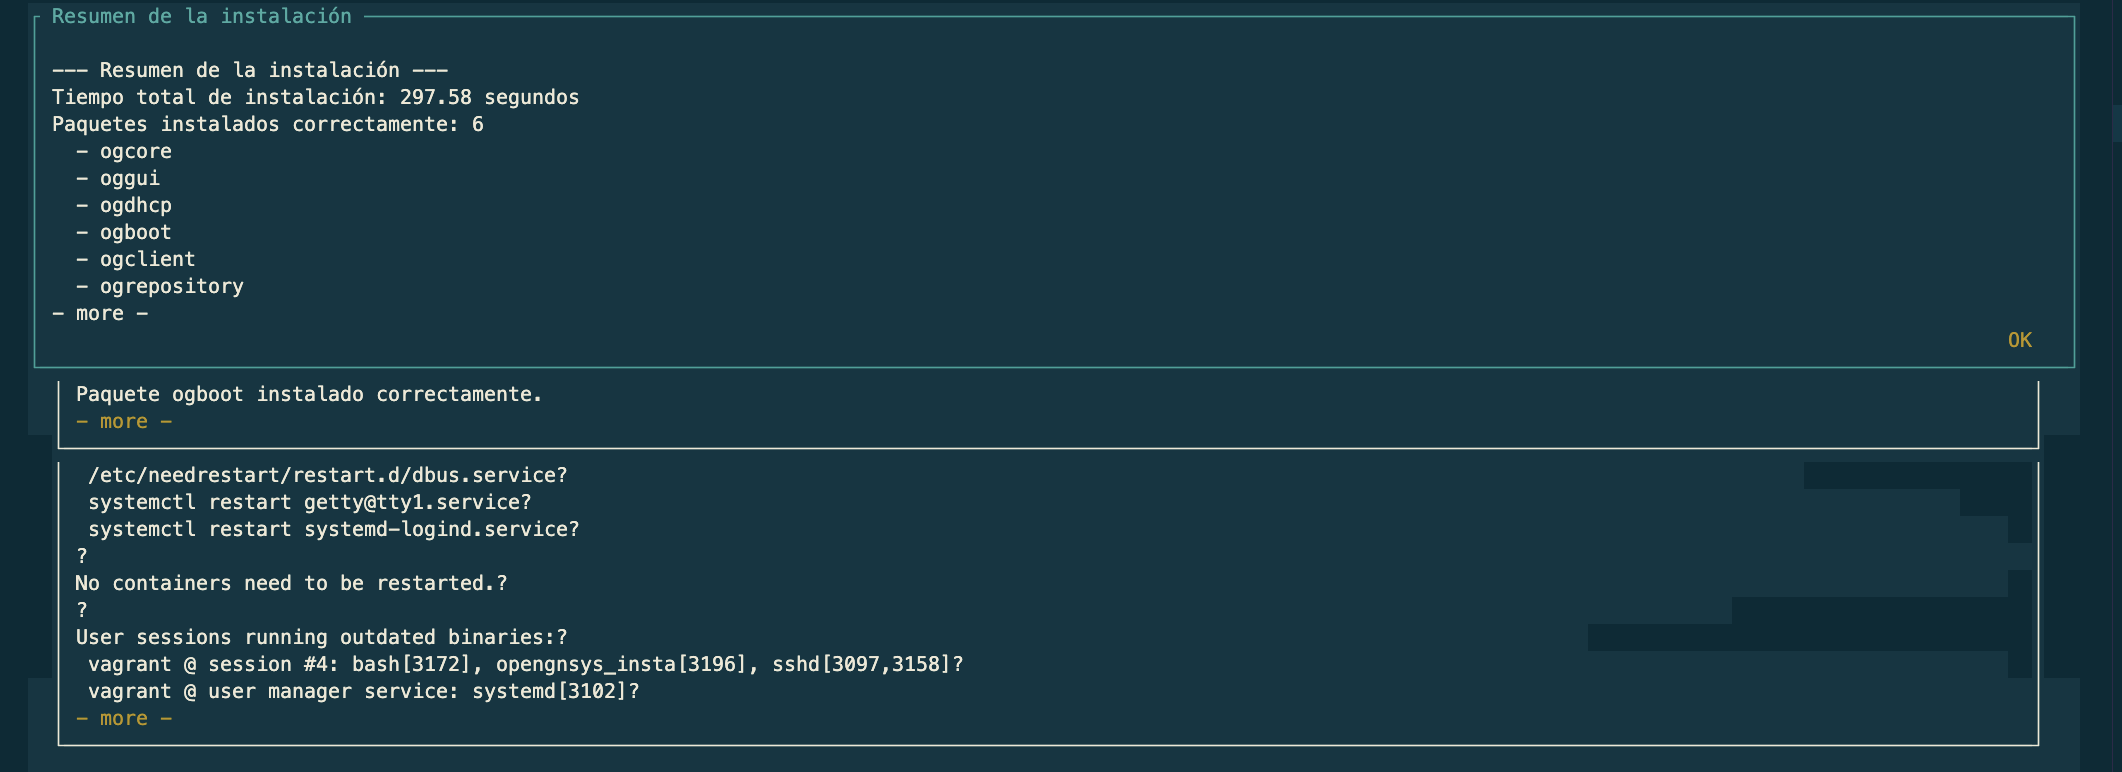
When installation finishes, a summary appears:
The file /opt/opengnsys/release is created with the installed version:
(og) root@install:~# cat /opt/opengnsys/release
Installed version: opengnsys-1.6.0-beta
NOTE: If installing from the nightly repository, the release file is not created
Service check
After installation completes, verify that services installed correctly and are functioning as expected.
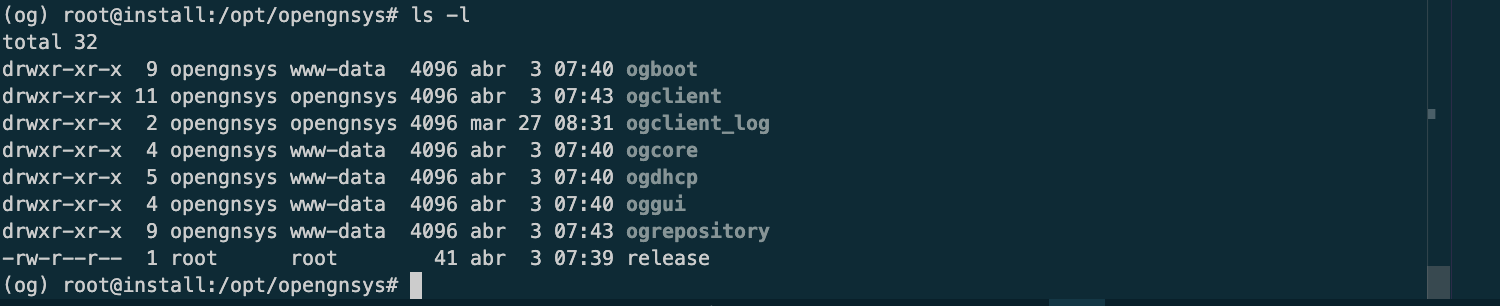
User permissions
All components are installed under /opt/opengnsys/, where is:
- ogboot
- ogdhcp
- ogrepository
- ogcore
- oggui
- ogclient
There is also a folder named ogclient_log used for client-mounted logs; this will be removed in future releases.
All directories belong to user opengnsys and group www-data, except ogclient and ogclient_log which belong to group opengnsys.
In /run/php/ you’ll find the sockets serving the ogboot and ogdhcp APIs. If services are running, these files must belong to user opengnsys.

In /etc/sudoers.d/ you’ll find an opengnsys file with the following configuration:

Stopping and starting services
All services run behind their own API and are managed as standard Linux services, though each has its particulars.
ogCore
Description
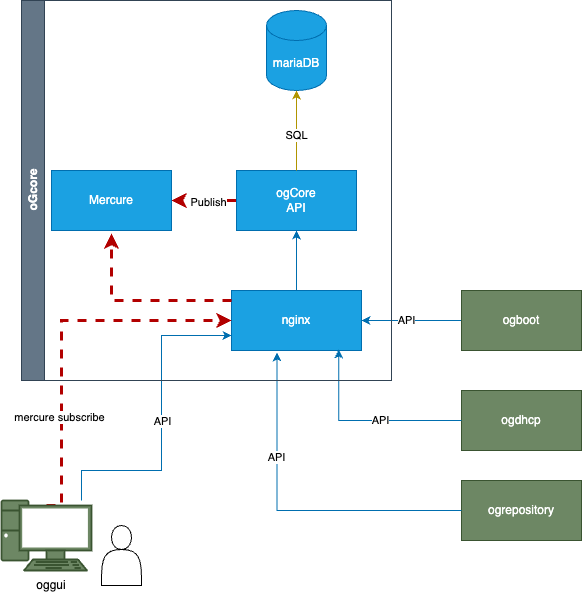
The ogCore service comprises three components:
- API
- Database
- Mercure
Both the API and Mercure run behind an nginx reverse proxy.
The architecture of ogCore is shown in this diagram:
Stopping and starting
# Arranque
root@qindel-box:~# systemctl start nginx

# Parada
root@qindel-box:~# systemctl stop nginx

# Estado
root@qindel-box:~# systemctl status nginx

# Logs del servicio
root@qindel-box:~# journalctl -f SYSLOG_IDENTIFIER=ogcore
Configuration files
Located in /opt/opengnsys/ogcore/
| File | Description |
|---|---|
| /opt/opengnsys/ogcore/api/env.json | Definition of endpoints ogCore connects to |
| /opt/opengnsys/ogcore/api/.env.local.php | Internal Symfony file |
| /etc/nginx/sites-enabled/ogcore.conf | nginx config for the ogCore API |
| /etc/nginx/sites-enabled/mercure.conf | nginx config for the Mercure service |
Accessing the service
The ogCore API is available on the installation IP at port 8443. To access the service API, go to:
https://ip:8443/

You can test endpoints via Swagger:
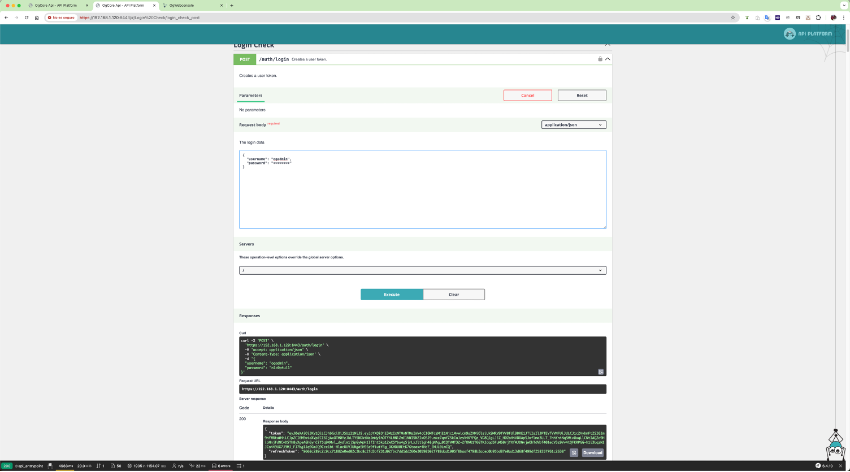
ogGui
Description
A static Angular application served by nginx.
Stopping and starting
# Arranque
root@qindel-box:~# systemctl start nginx

# Parada
root@qindel-box:~# systemctl stop nginx

# Estado
root@qindel-box:~# systemctl status nginx
As a client-side app, logs appear in the browser’s debug console, and you can view nginx logs for access and errors.
Configuration files
| File | Description |
|---|---|
| /etc/nginx/sites-enabled/oggui.conf | URL of the endpoint pointing to ogCore |
| /opt/opengnsys/oggui/etc/config.json | Mercure and ogCore endpoints |
Accessing the service
To access the GUI, go to port 4200 on the deployment host:
https://ip:4200/
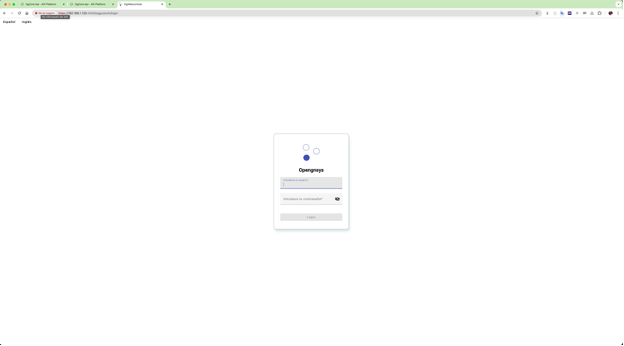
Enter the user and password configured during installation:
ogBoot
This service includes multiple components running on the deployment host. The API runs under nginx, handling HTTP/S, Samba exports, and TFTP boot.
The ogBoot code is in /opt/opengnsys/ogboot/, with key directories:
- client: Samba-exported images and cloning engine
- tftpboot: Samba-exported iPXE kernels and ogLive images
- Other folders are the API itself
Stopping and starting
- nginx
# Arranque
systemctl start nginx
systemctl start tftpd-ha
systemctl start samba

# Parada
systemctl stop nginx
systemctl stop tftpd-ha
systemctl stop samba

# Reinicio
systemctl restart nginx
systemctl restart tftpd-ha
systemctl restart samba

# Status
systemctl status nginx
systemctl restart tftpd-ha
systemctl restart samba
Logs for nginx and the API are in:
- /var/log/nginx/ogboot_access.log
- /var/log/nginx/ogboot_error.log
Configuration files
| Location | File | Description |
|---|---|---|
| /opt/opengnsys/ogboot/ | .env | Symfony configuration file |
| /etc/nginx/sites-available/ | ogboot.conf | nginx configuration file |
| /etc/samba | smb-ogboot.conf | Samba configuration file |
| /etc/samba | smb-ogclient.conf | Samba config for the clone engine |
Accessing the service
The ogBoot API listens on port 8082 via HTTP. To view the API docs:
http://ip:8082/ogboot/api/doc
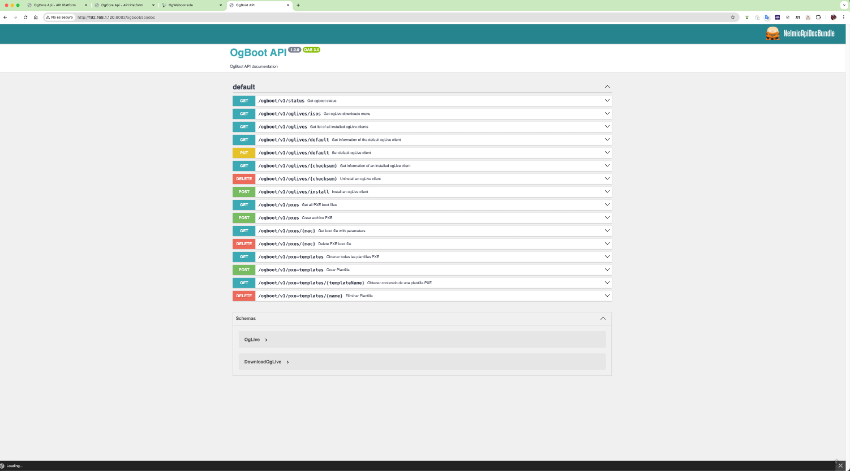
If all is well, the status endpoint returns something like:
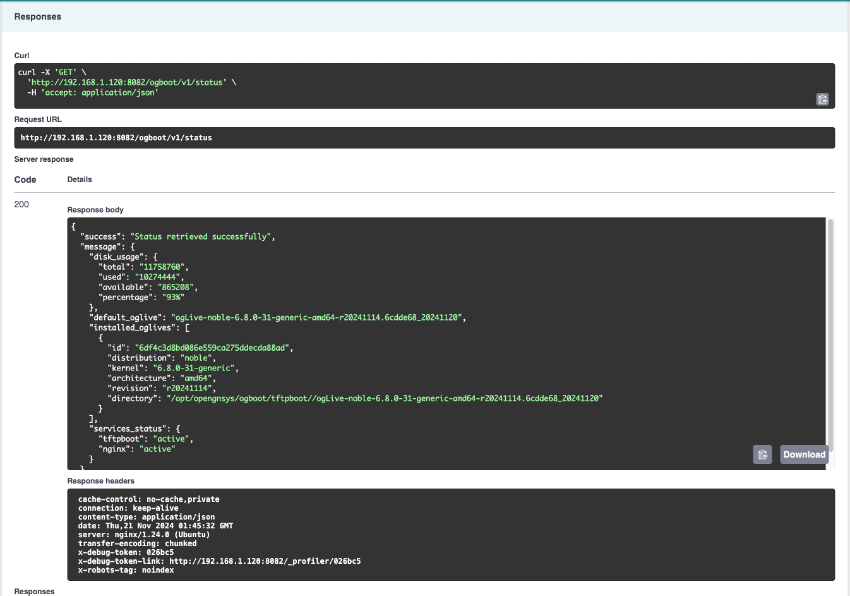
ogDHCP
Description
Manages DHCP using Kea, controlled by a Symfony API running under nginx.
Stopping and starting
# Arranque
systemctl start nginx
systemctl start kea-dhcp4-server
systemctl start kea-ctrl-agent

# Parada
systemctl stop nginx
systemctl stop kea-dhcp4-server
systemctl stop kea-ctrl-agent

# Restart
systemctl restart nginx
systemctl restart kea-dhcp4-server
systemctl restart kea-ctrl-agent

# Status
systemctl status nginx
systemctl status kea-dhcp4-server
systemctl status kea-ctrl-agent
Log files
- nginx:
/var/log/nginx/ogdhcp_access.log
/var/log/nginx/ogdhcperror.log
Configuration files
| Location | File | Description |
|---|---|---|
| /opt/opengnsys/ogdhcp/ | .env | Symfony configuration file |
| /etc/nginx/sites-available/ | ogdhcp.conf | nginx configuration file |
Accessing the service
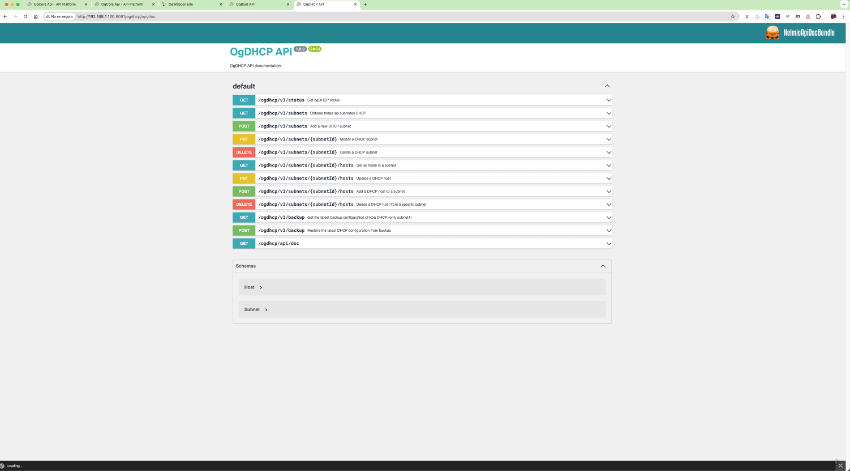
The ogDHCP API listens on port 8081 via HTTP. To view the API docs:
http://ip:8081/ogdhcp/api/doc
If all is well, the status endpoint returns something like:
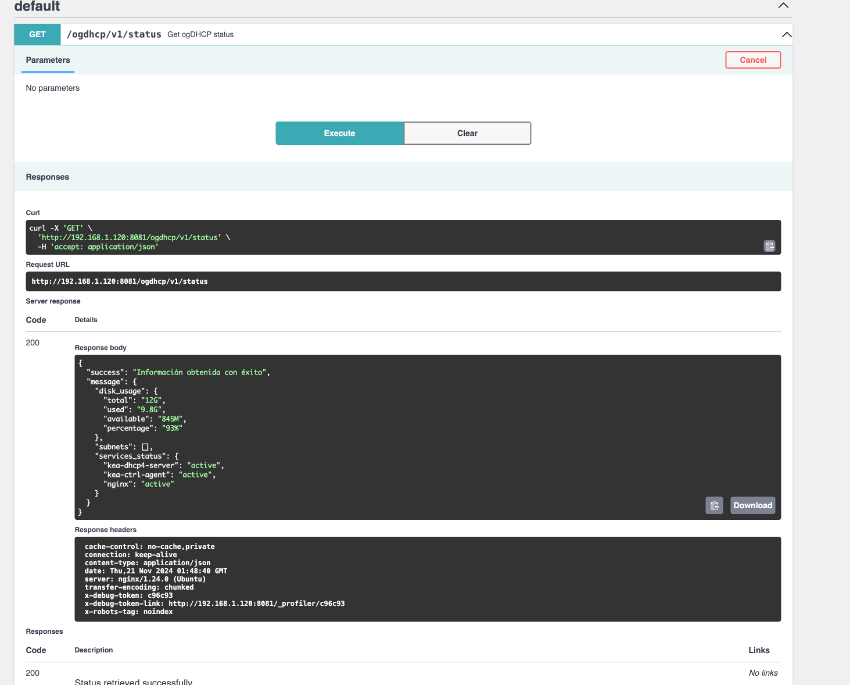
ogRepository
Description
Includes multiple components on the deployment host. The API runs under Gunicorn with Flask, and Samba serves /opt/opengnsys/ogrepository/images under user opengnsys.
Stopping and starting
# Arranque
systemctl start ogrepo-api
systemctl start samba

# Parada
systemctl stop ogrepo-api
systemctl stop samba

# Status
systemctl status ogrepo-api
systemctl status samba

# Revisión de logs
journalctl -xeu ogrepo-api
journalctl -xeu samba
Configuration
| Location | File | Description |
|---|---|---|
| /opt/opengnsys/ogrepository/ | .ogAdmRepo.cfg | ogRepository configuration file |
| /etc/samba/ | smb.conf.ogrepository | Samba configuration file |
Accessing the service
The ogRepository API listens on port 8006. To access the service:
http://ip:8006/apidocs/
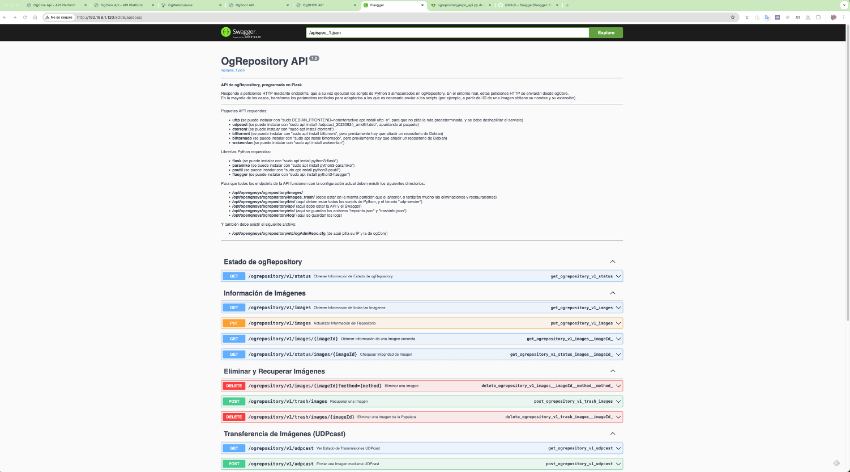
If installation was successful, the status returns something like:
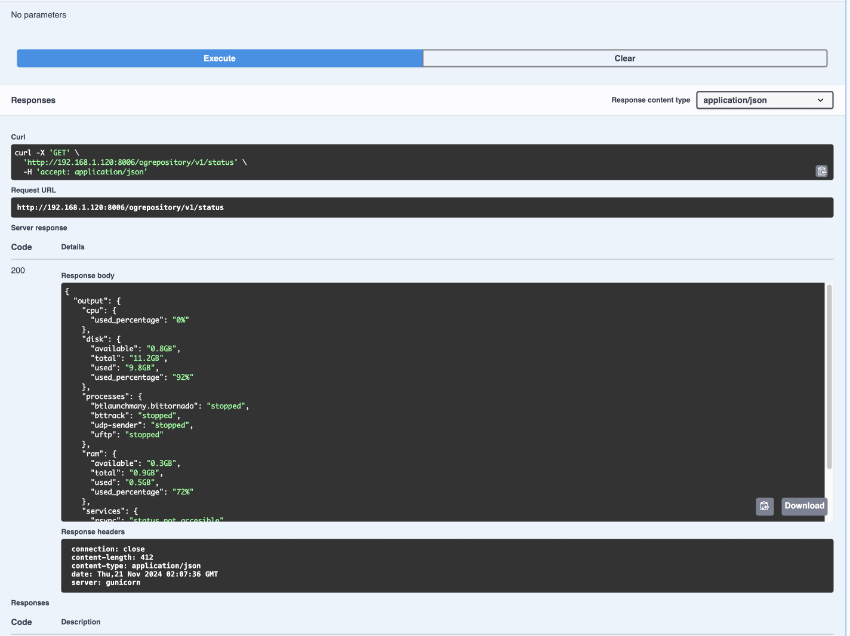
First steps
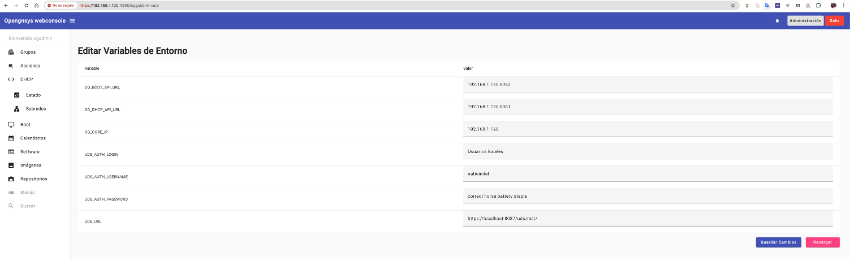
To begin, configure ogCore via the GUI to verify ogCore can reach all components.
On the machine where ogCore is installed, edit /opt/opengnsys/ogCore/etc/env.json:
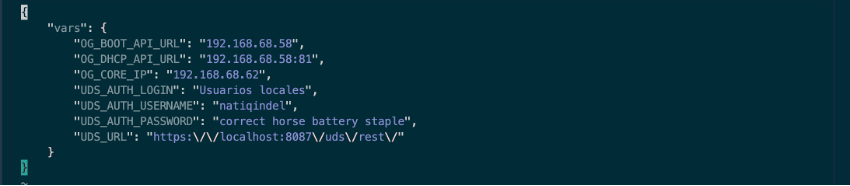
Adjust OG_BOOT_API_URL, OG_DHCP_API_URL, and OG_CORE_IP to the correct values for your setup, for example:
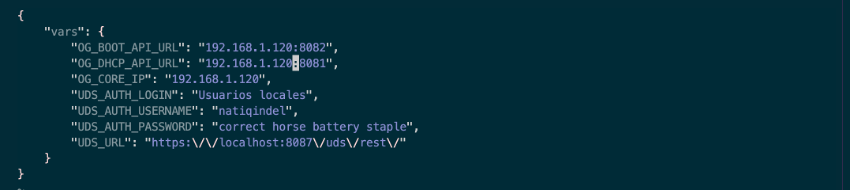
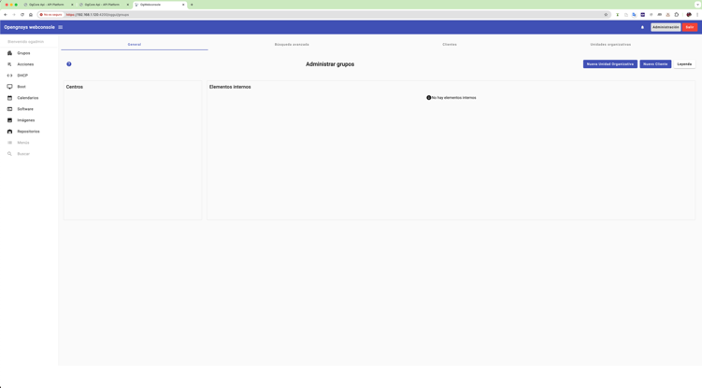
Once done, restart ogCore and log in to the GUI:
Viewing DHCP service status:

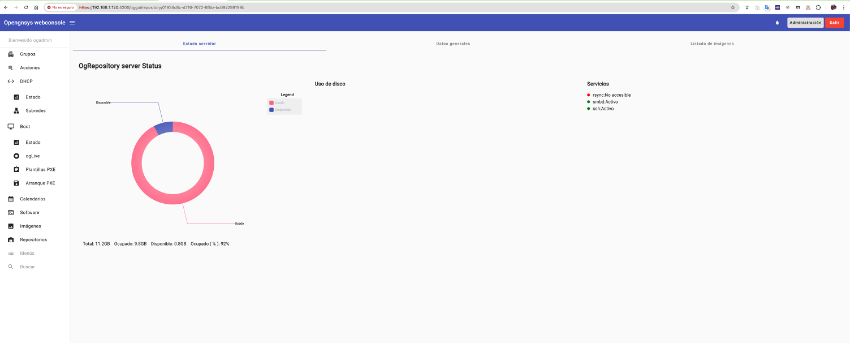
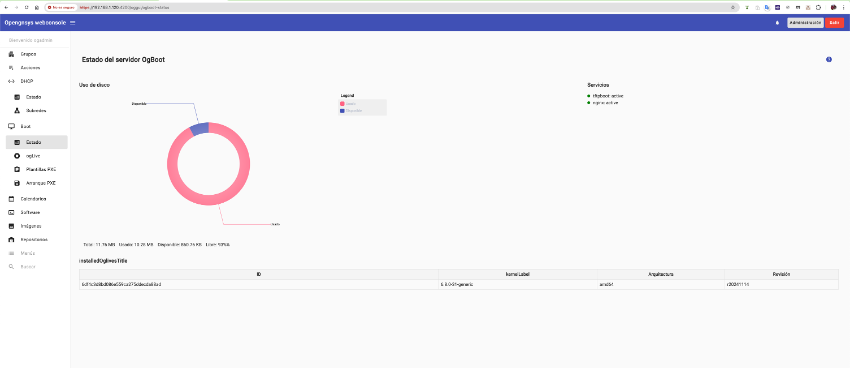
Viewing ogBoot service status:
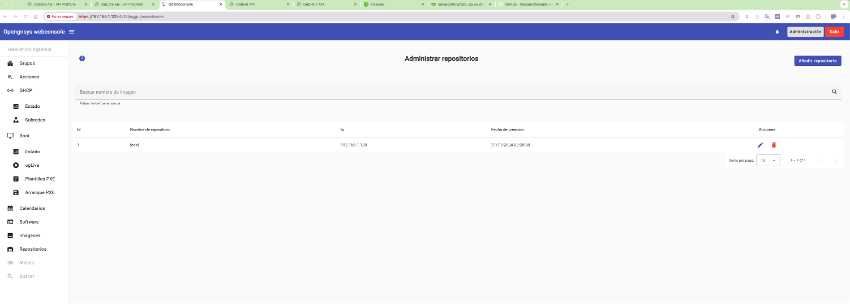
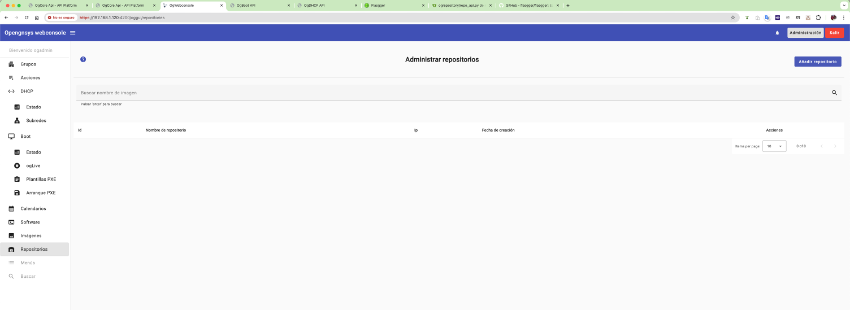
To verify ogRepository connectivity, add the repository via “Repositories”:
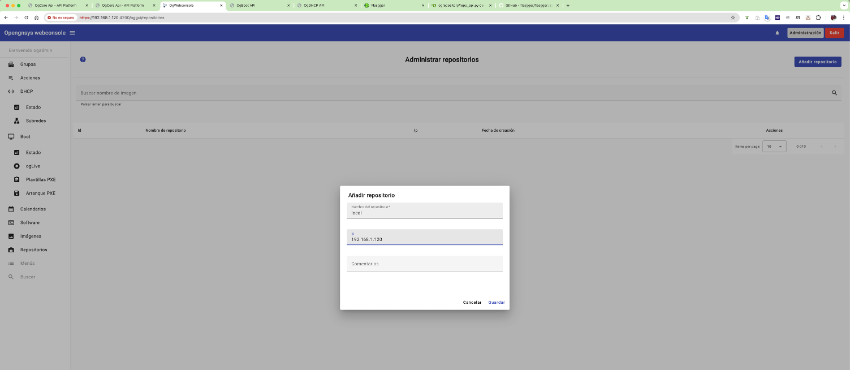
Fill in the required details:
Click the pencil icon to view the repository: